Homebrew weather station
Today I would like to share with you some small IoT project that I did a few weeks ago. It was a homebrew weather station. Here are in details instruction how I did it.
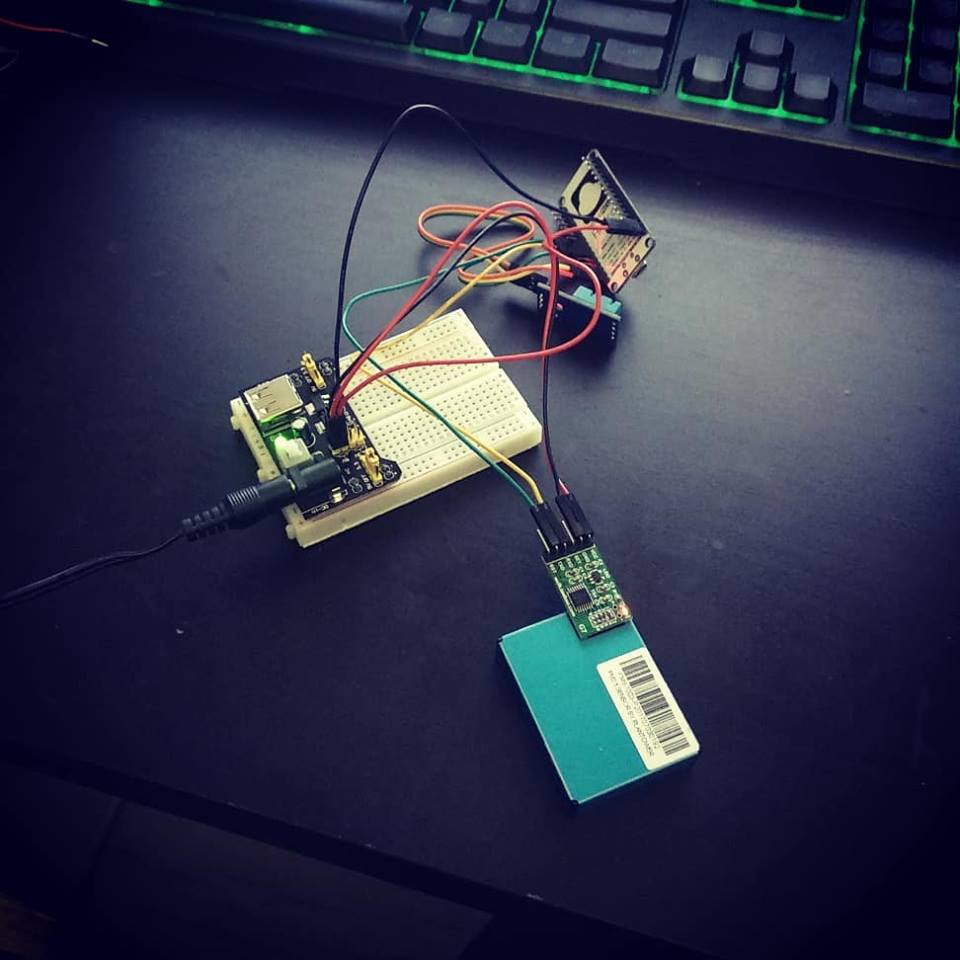
TLDR;
Requirements
Hardware
Software
Firmware upload
Upload firmware on ESP8266 using ESP Easy Flasher (Win) or via flash scripts (https://www.letscontrolit.com/wiki/index.php?title=Flash_script_linux)
After ~104s you should have firmware on ESP8622.
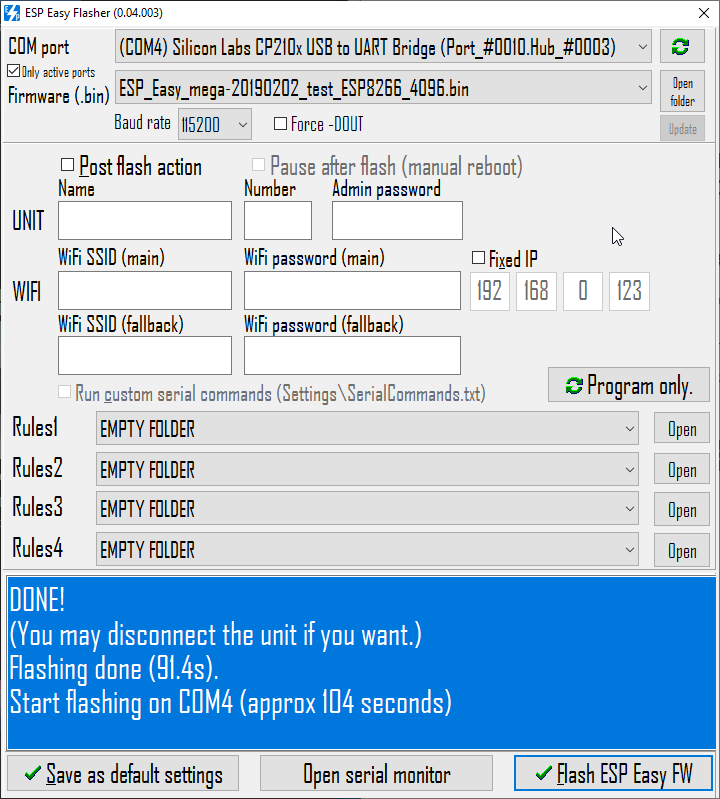
On connection, your ESP8266 Node MCU should blink once. On connection issues try to:
Initial configuration
Now is time to start and configure Easy ESP via the web interface. We need to reset the ESP8266 Node MCU (RST button).
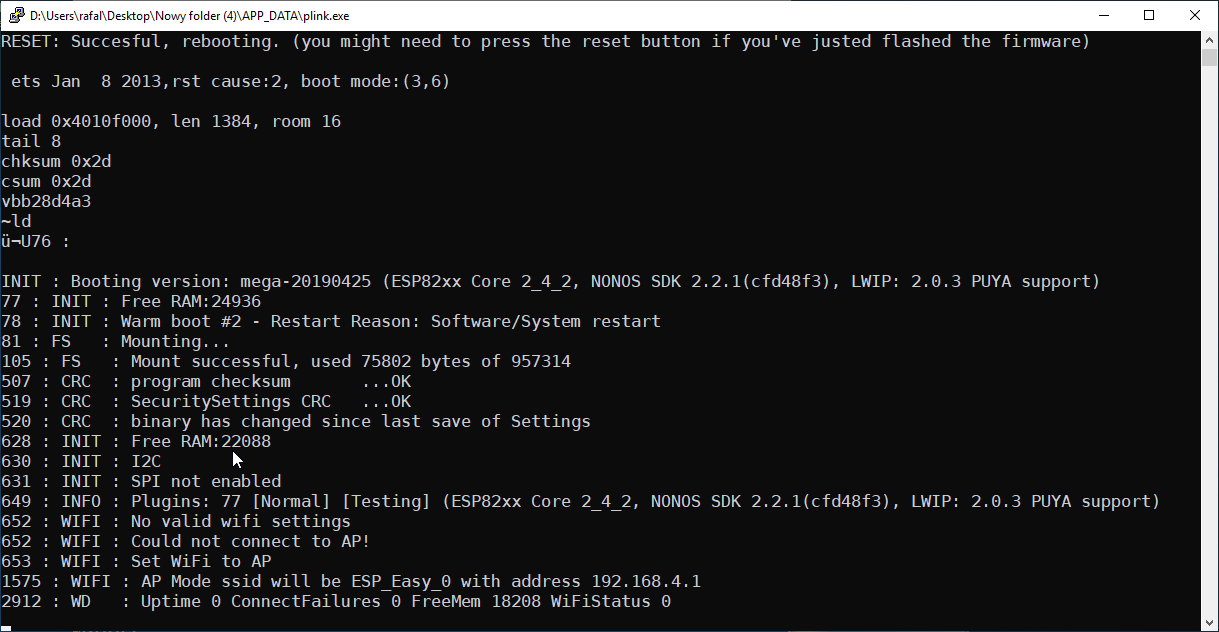
You can verify the status of firmware update by Opening serial monitor after flash from ESP Easy Flasher. It should look more or less like this.
Configuration
Setup WiFi on ESP8622
Log from above states that we should be able to connect to new a WiFi network called **ESP_Easy_0 **with password configesp.
Then navigate to IP address http://www.msftconnecttest.com/setup to select WiFi network and input password.
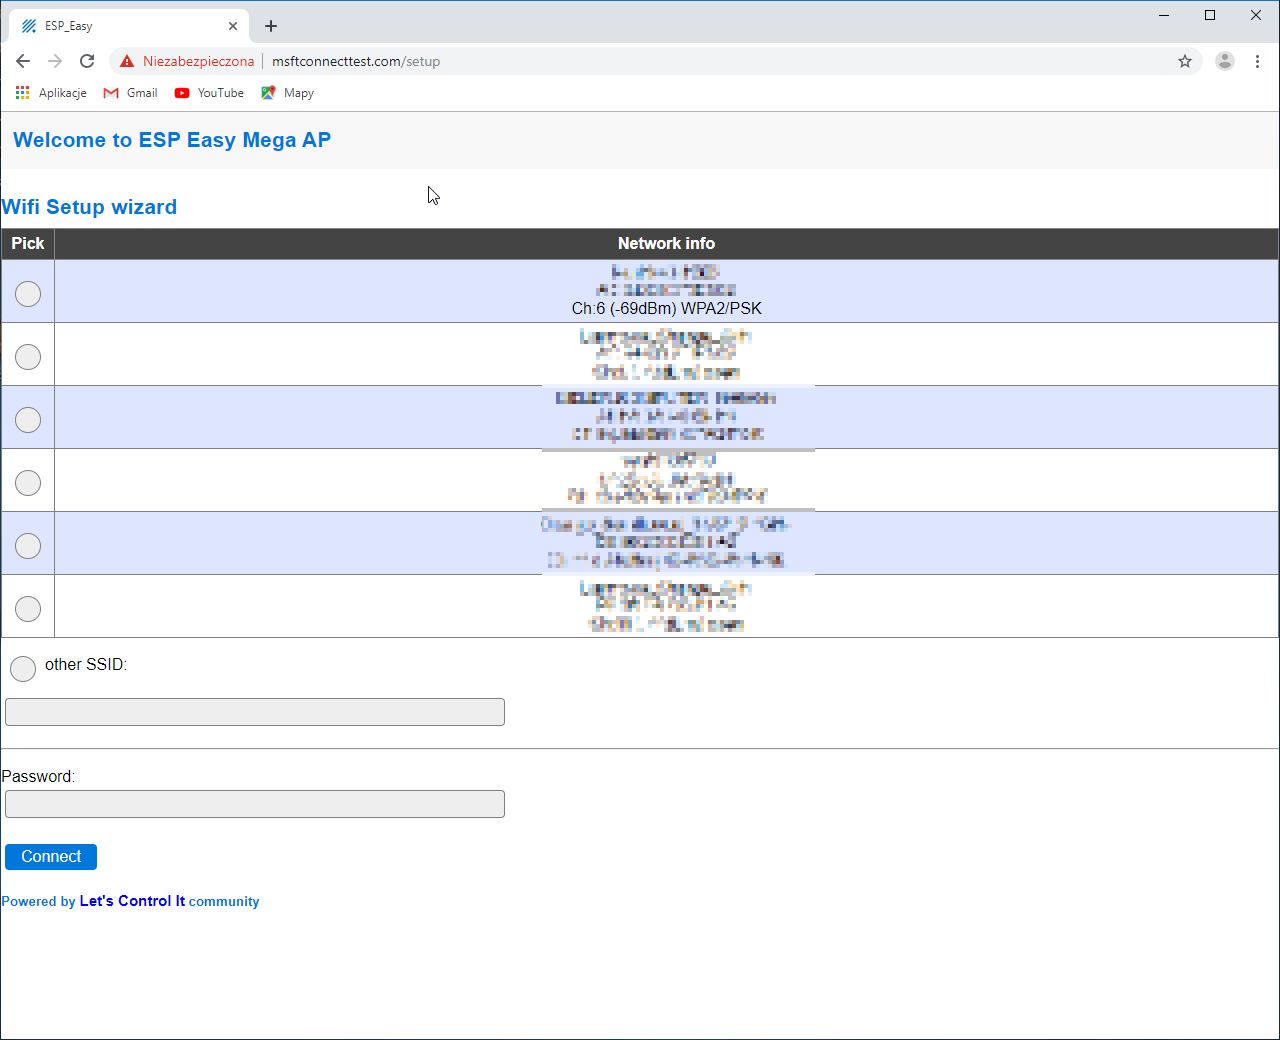
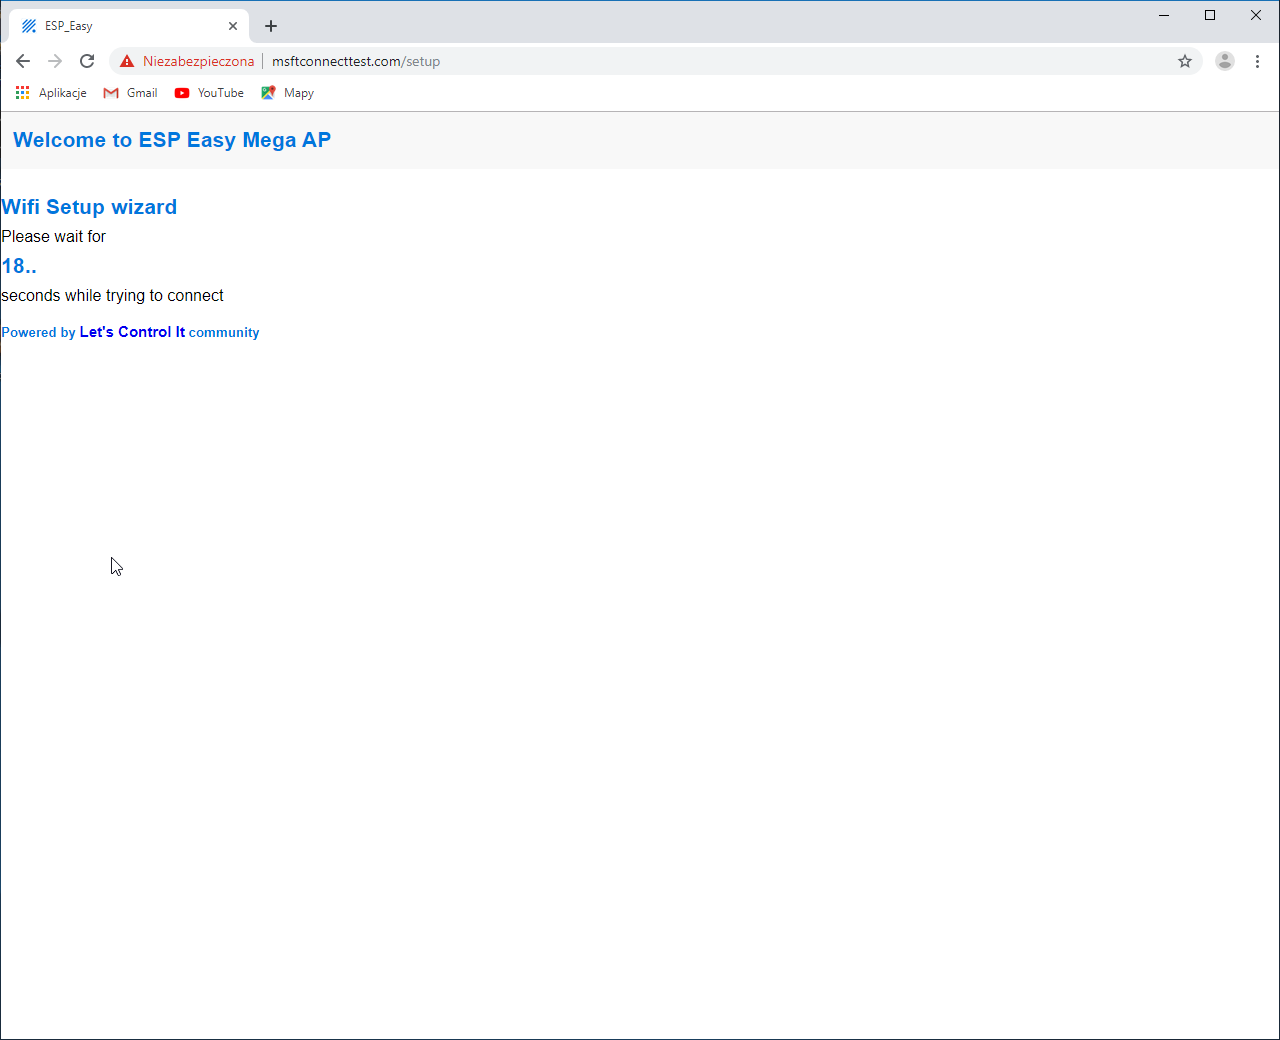
As a result, you are routed to new IP inside desired WiFi network.
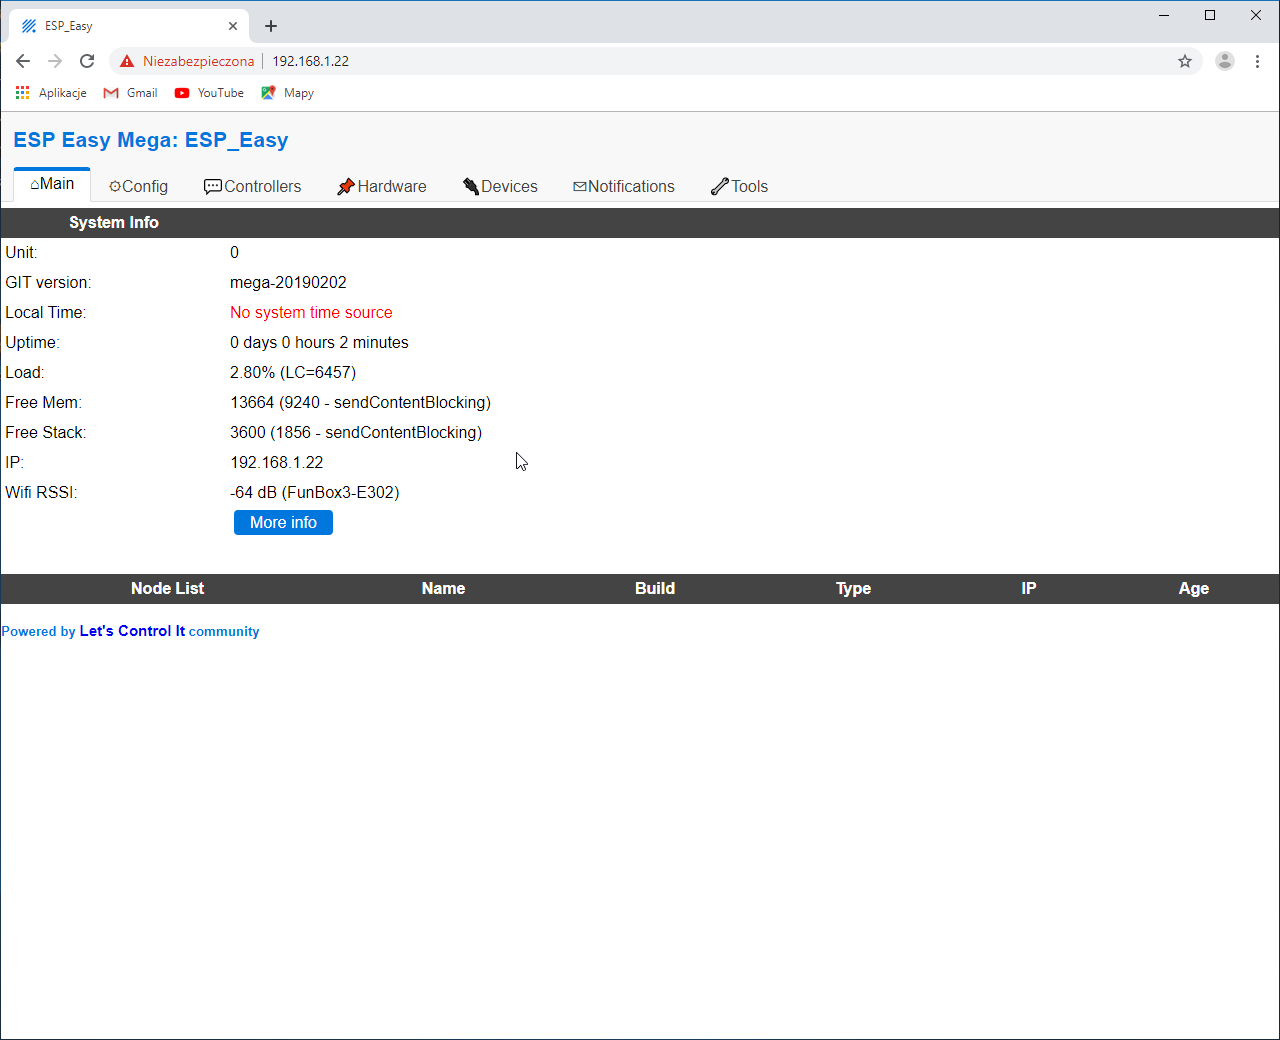
Now is time to configure some sensors.
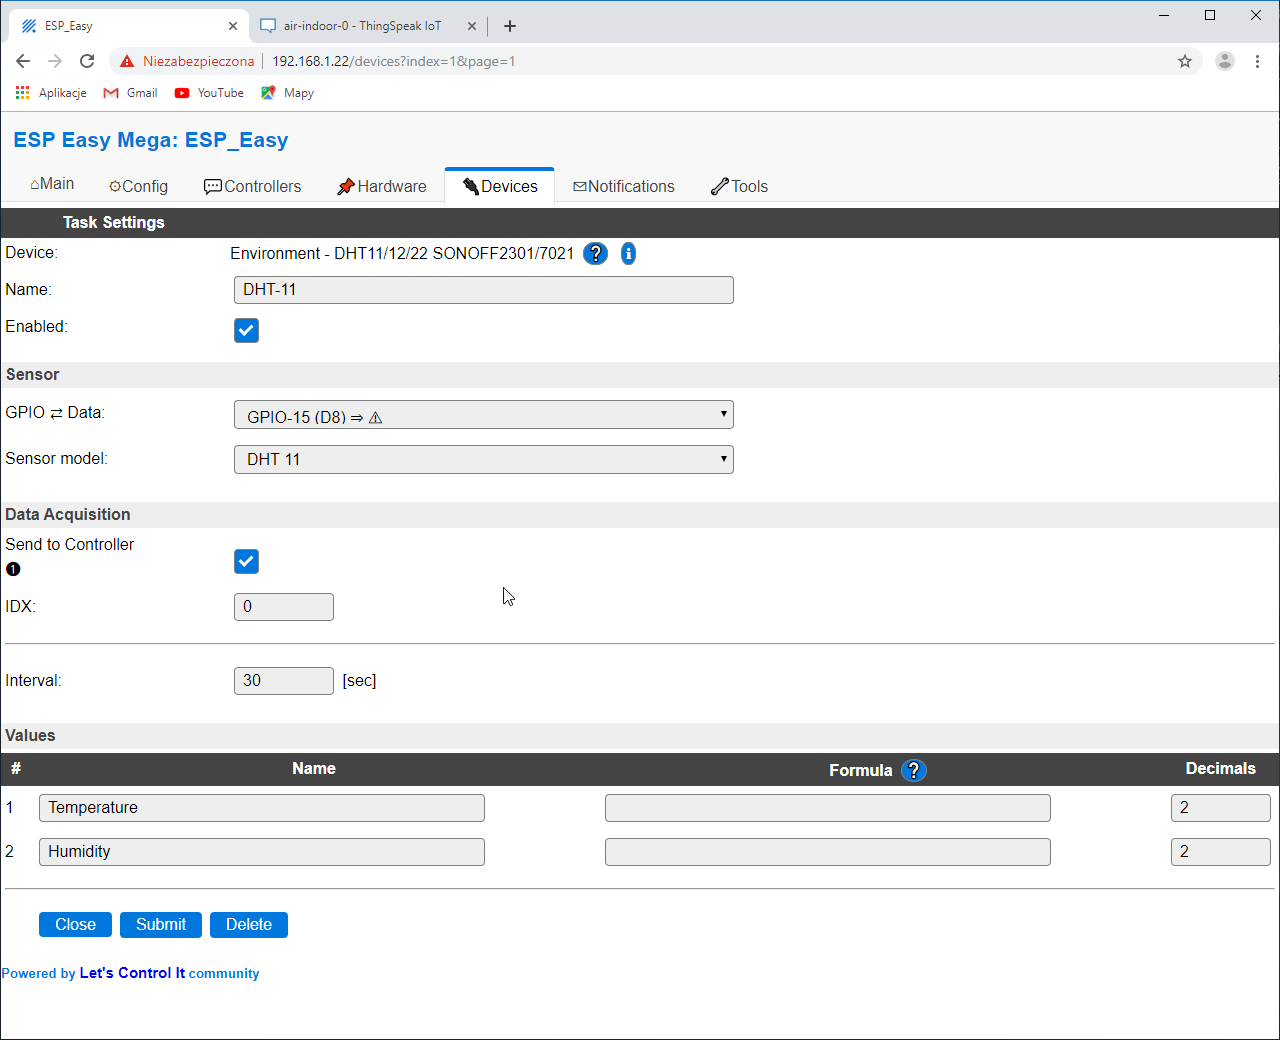
Configure DHT11 sensor
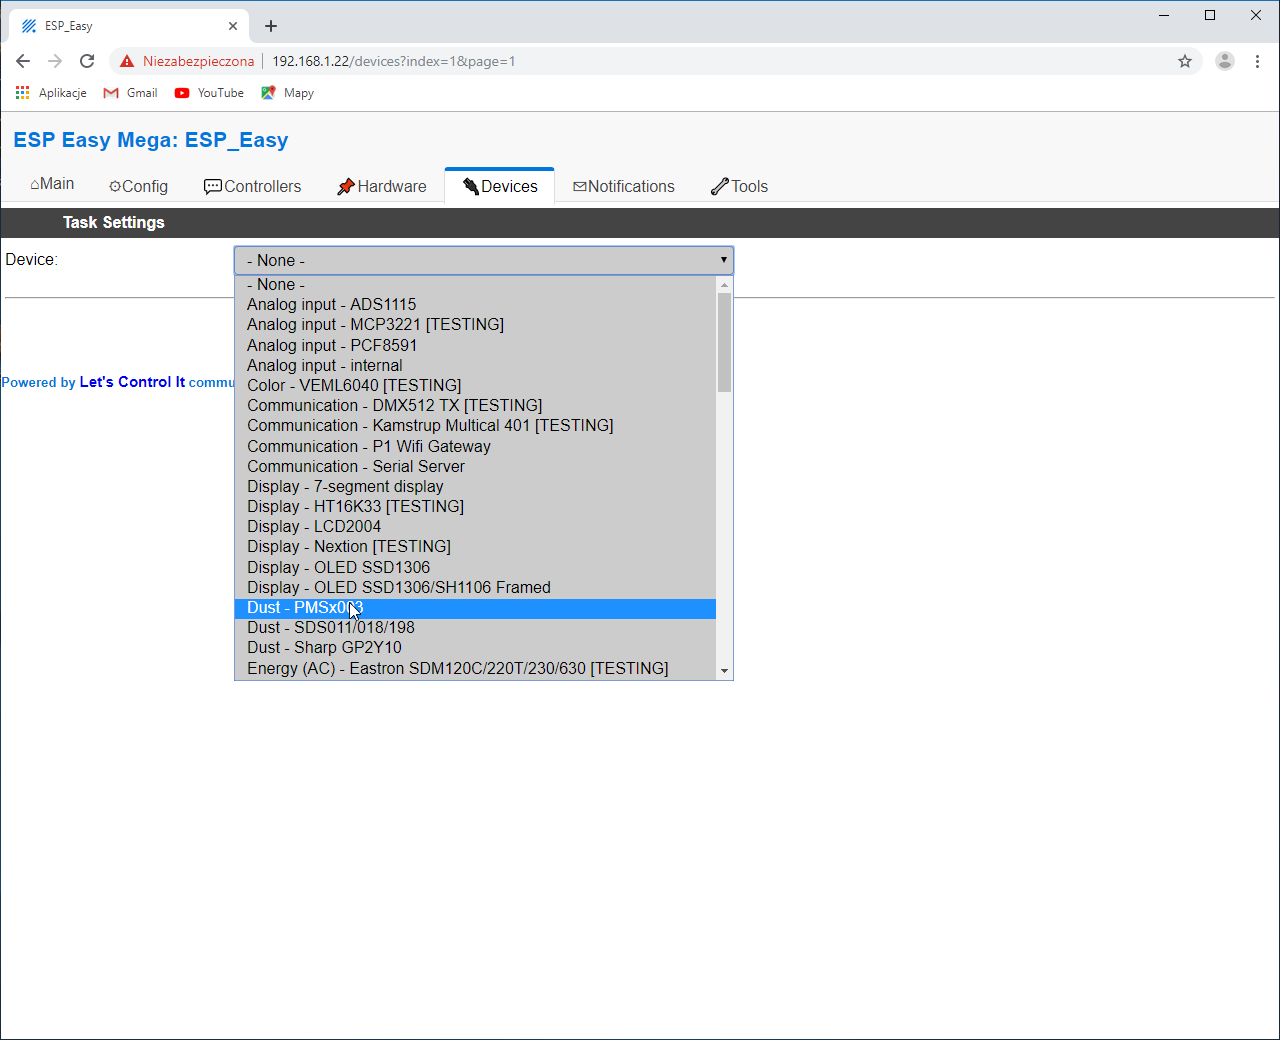
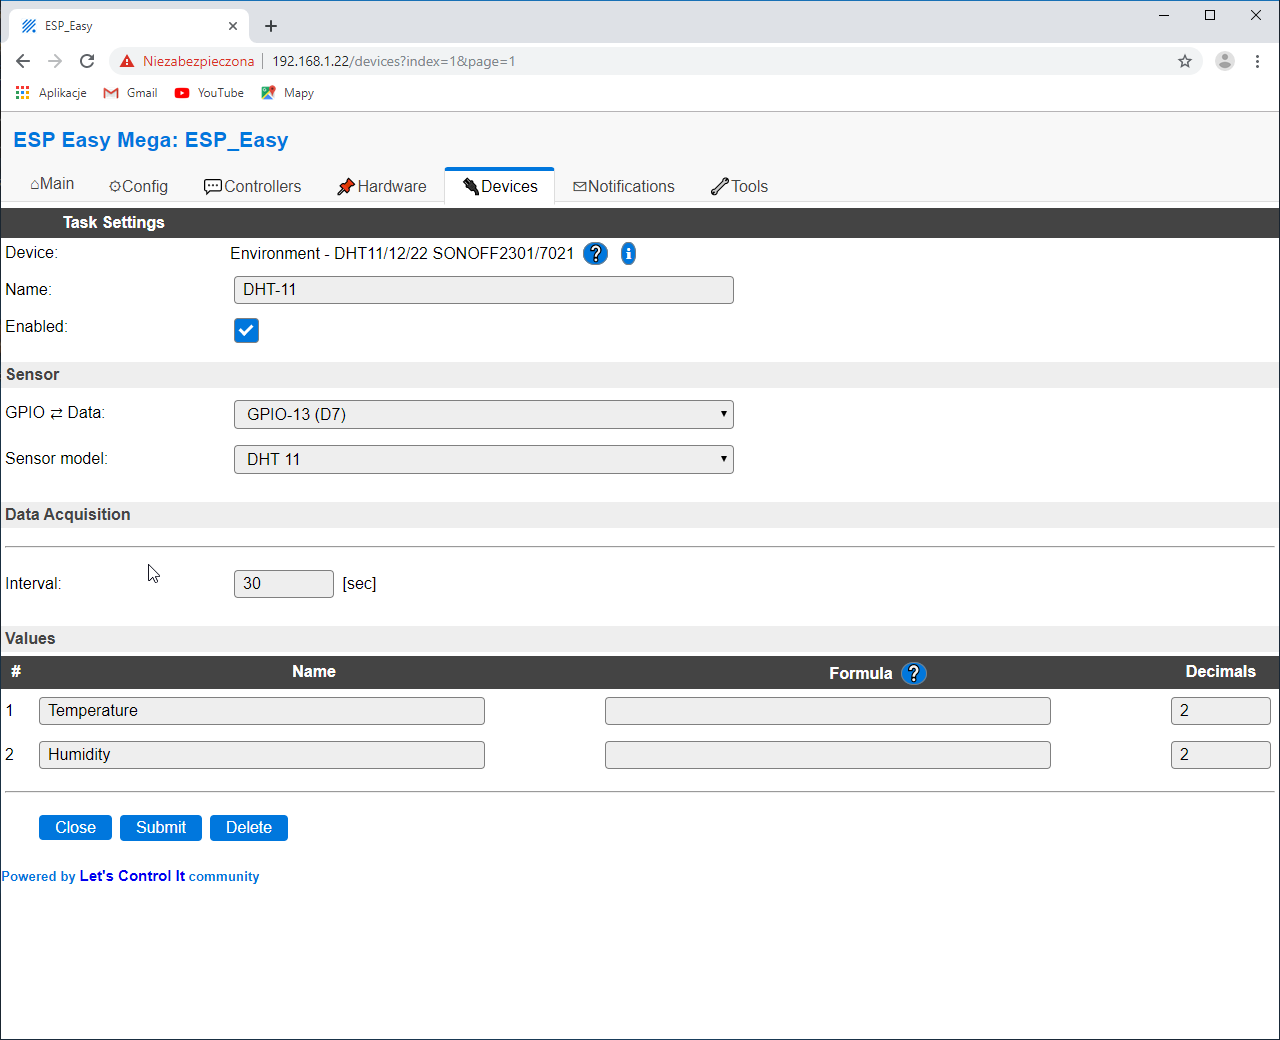
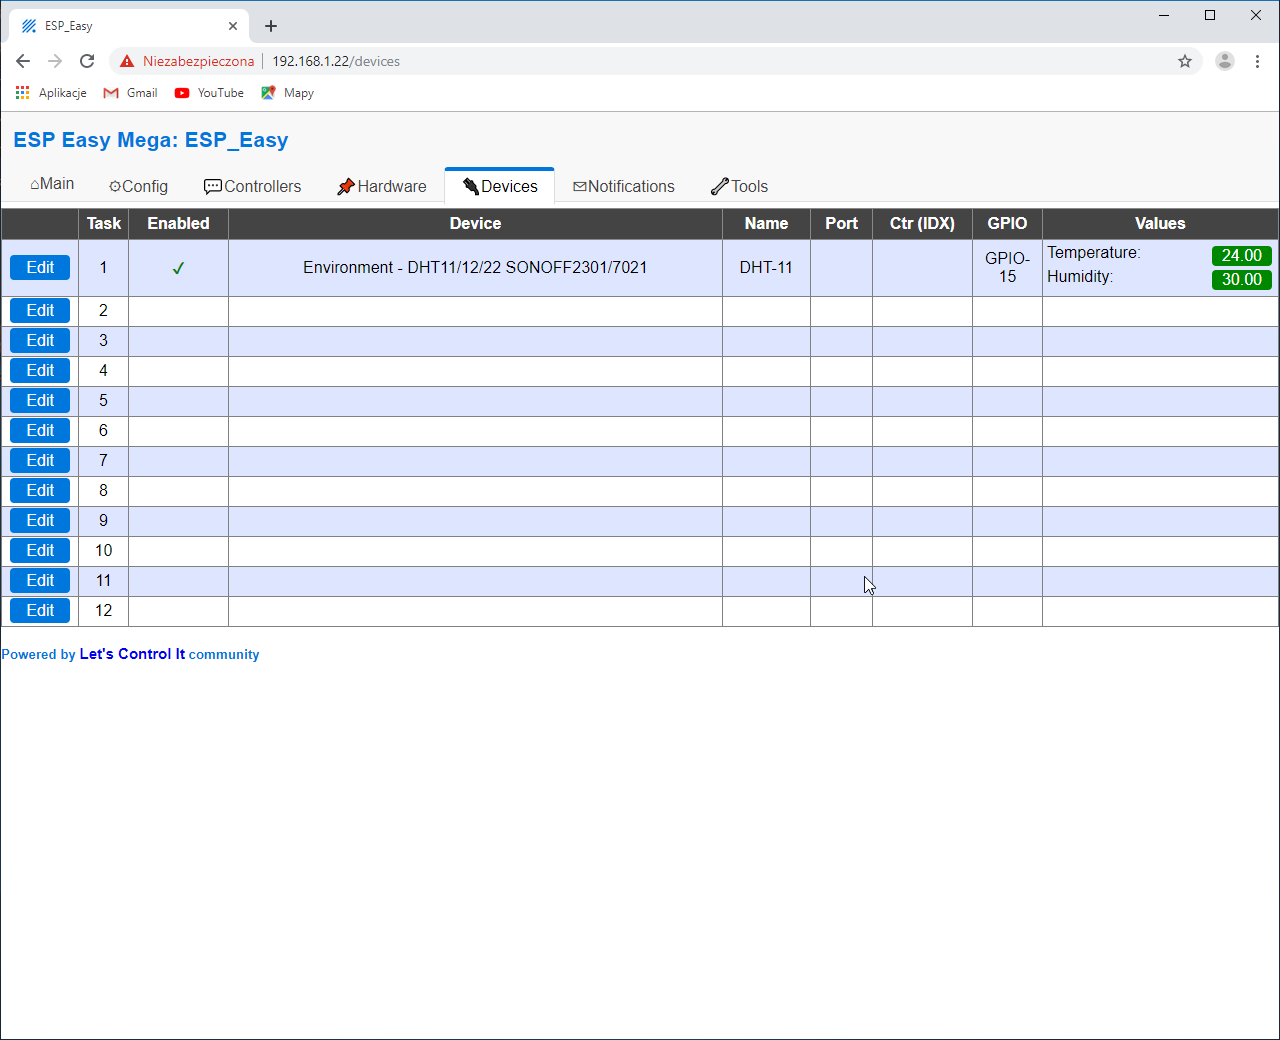
First thing would be to navigate to *Devices *page and select sensor from drop down. We would start with DHT-11 so after choosing it we need to specify GPIO pin with DATA connected to our board. In this case, it would be D7.
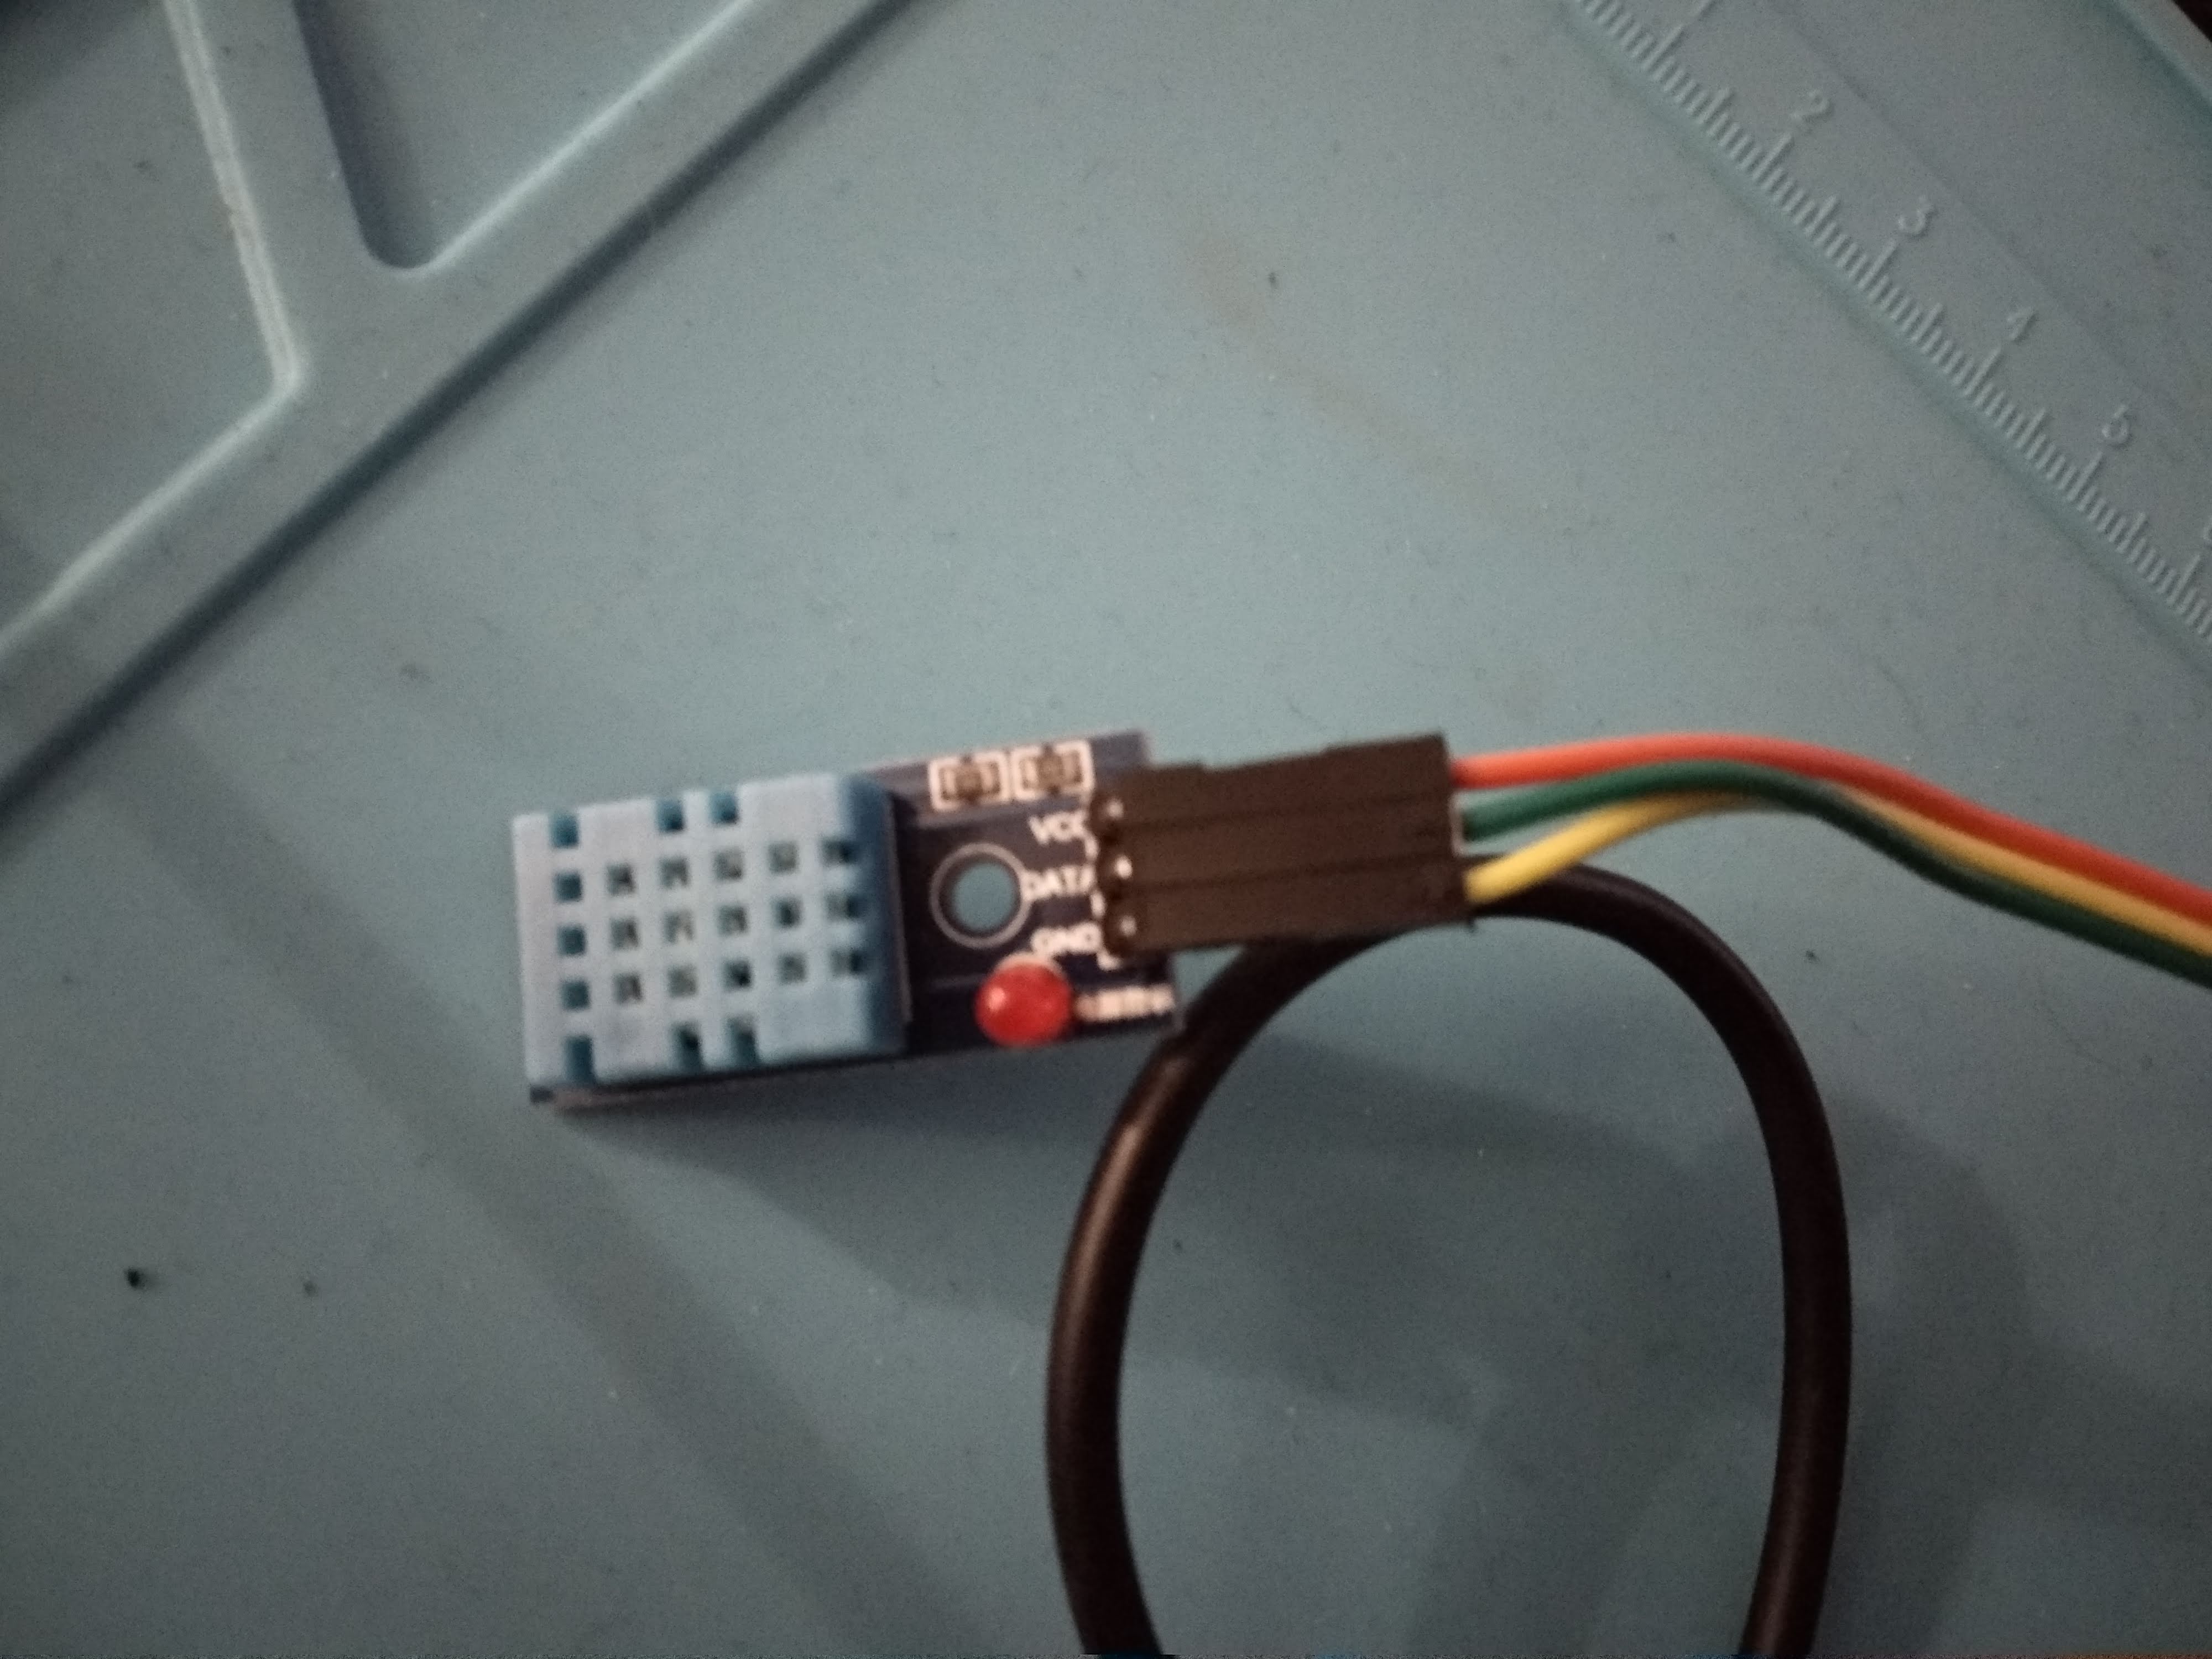
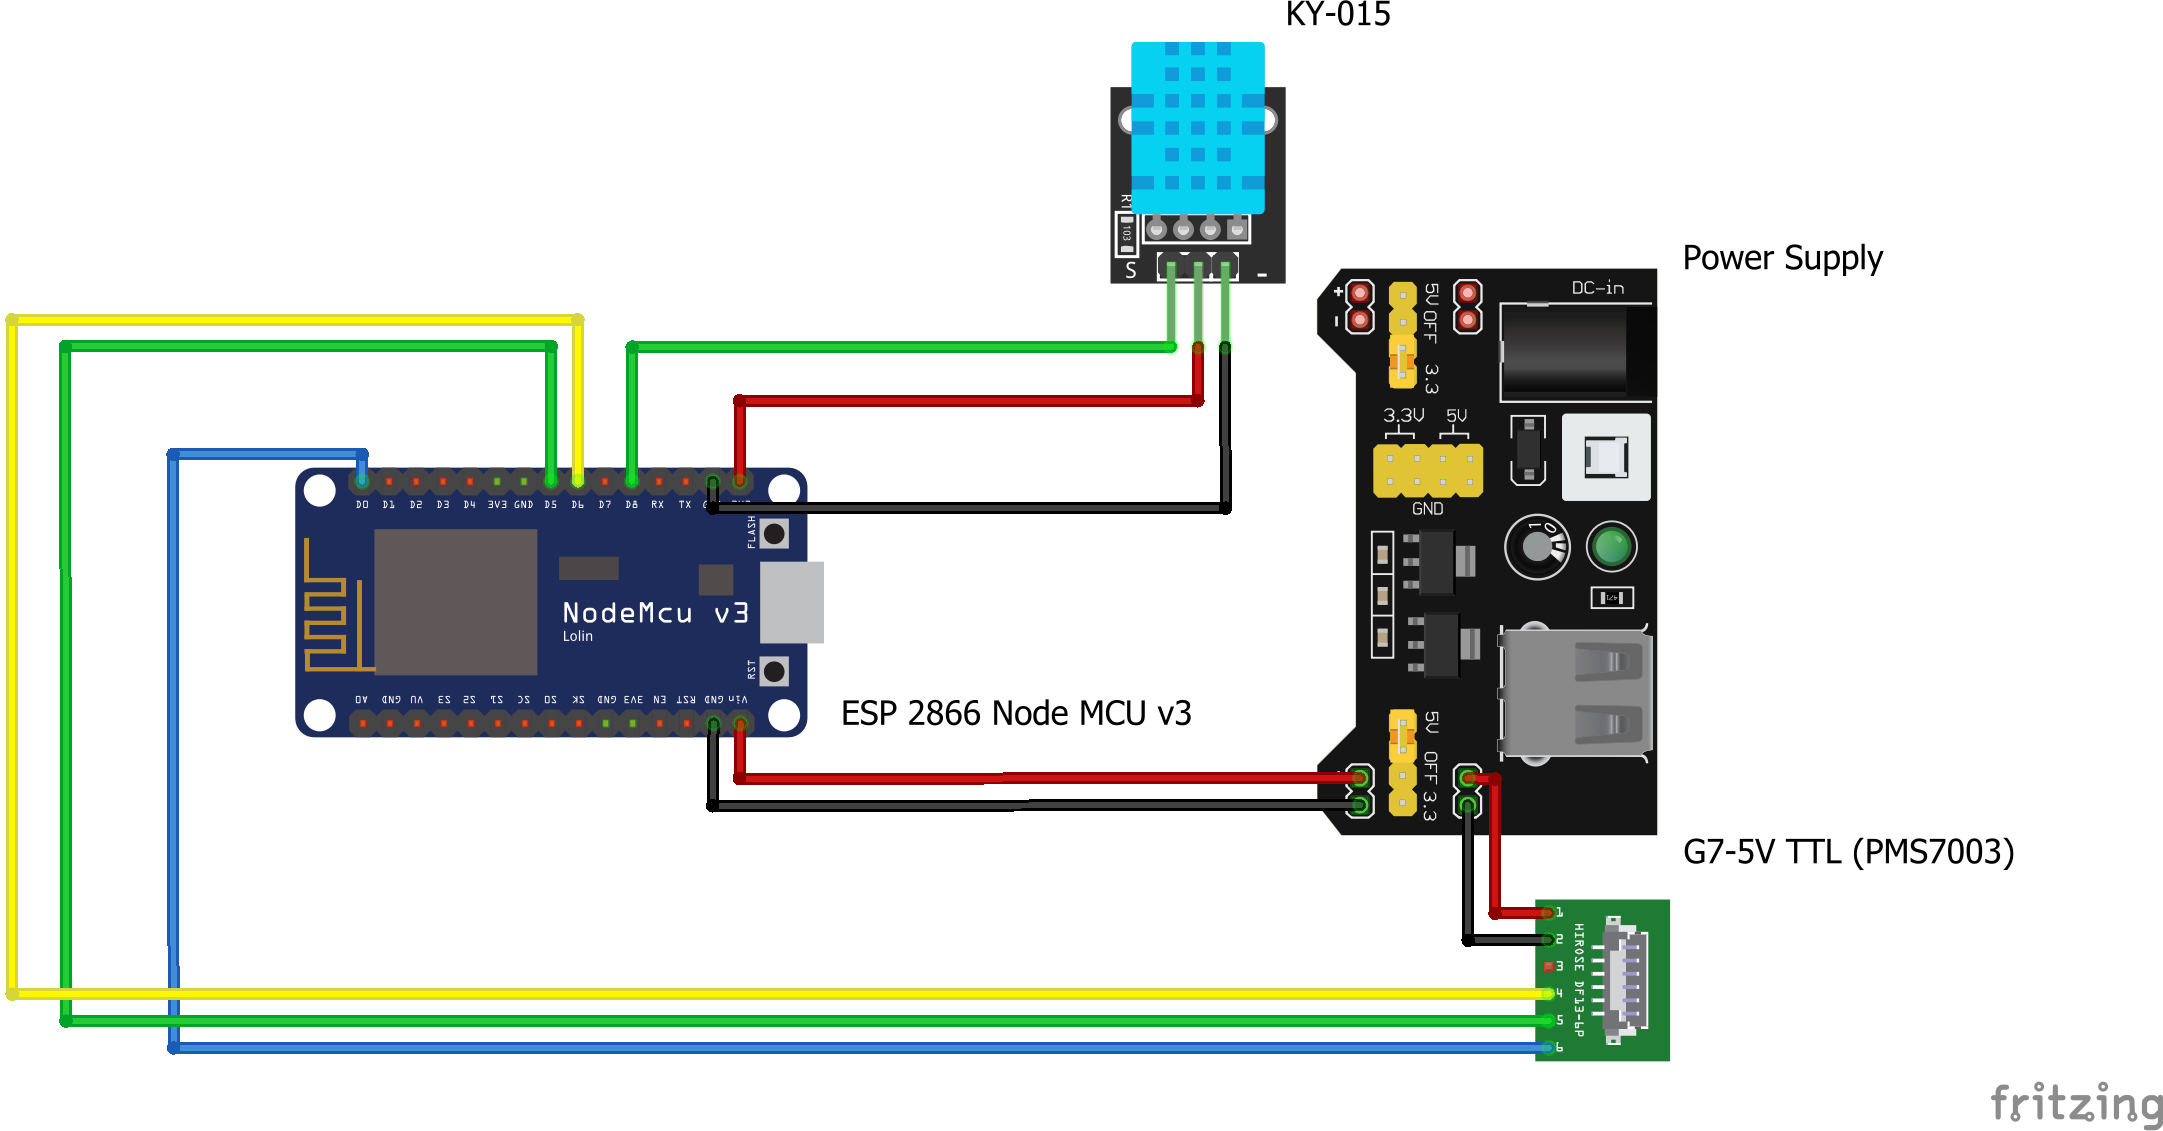
We can use the board to provide power for sensor f.e. using V3.3 and *GND *pins located near D7.
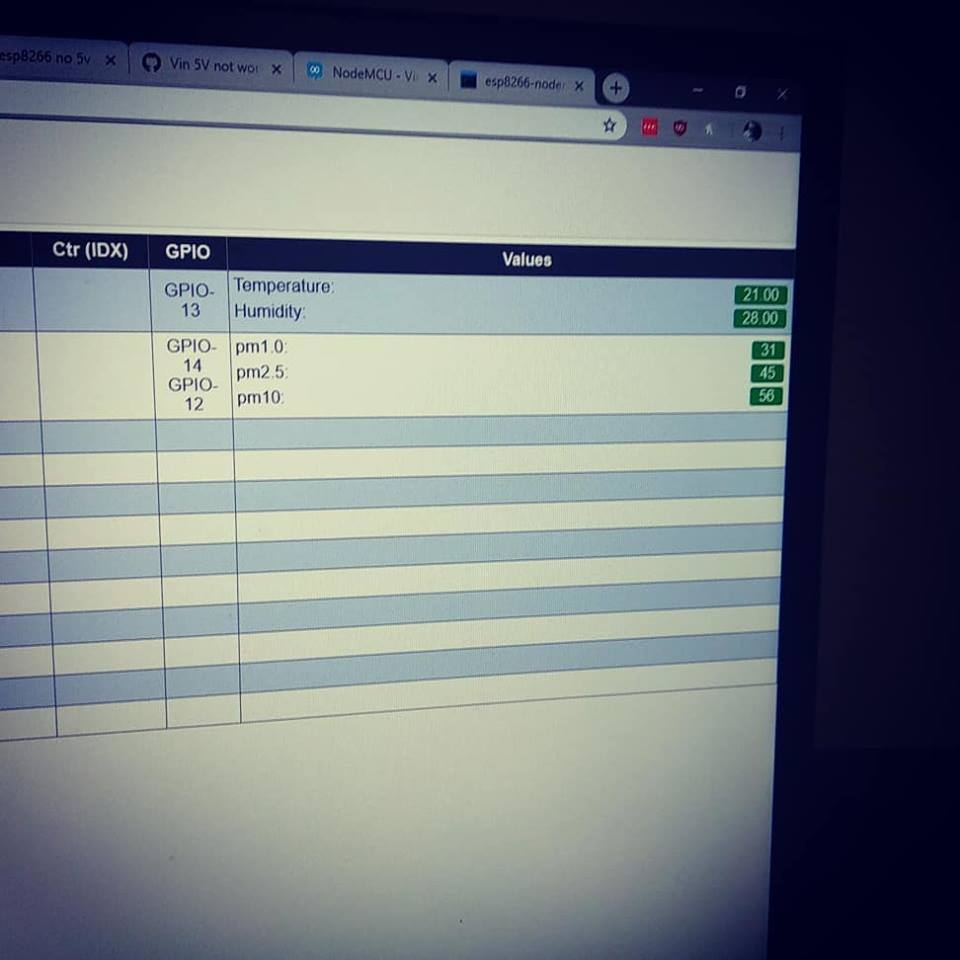
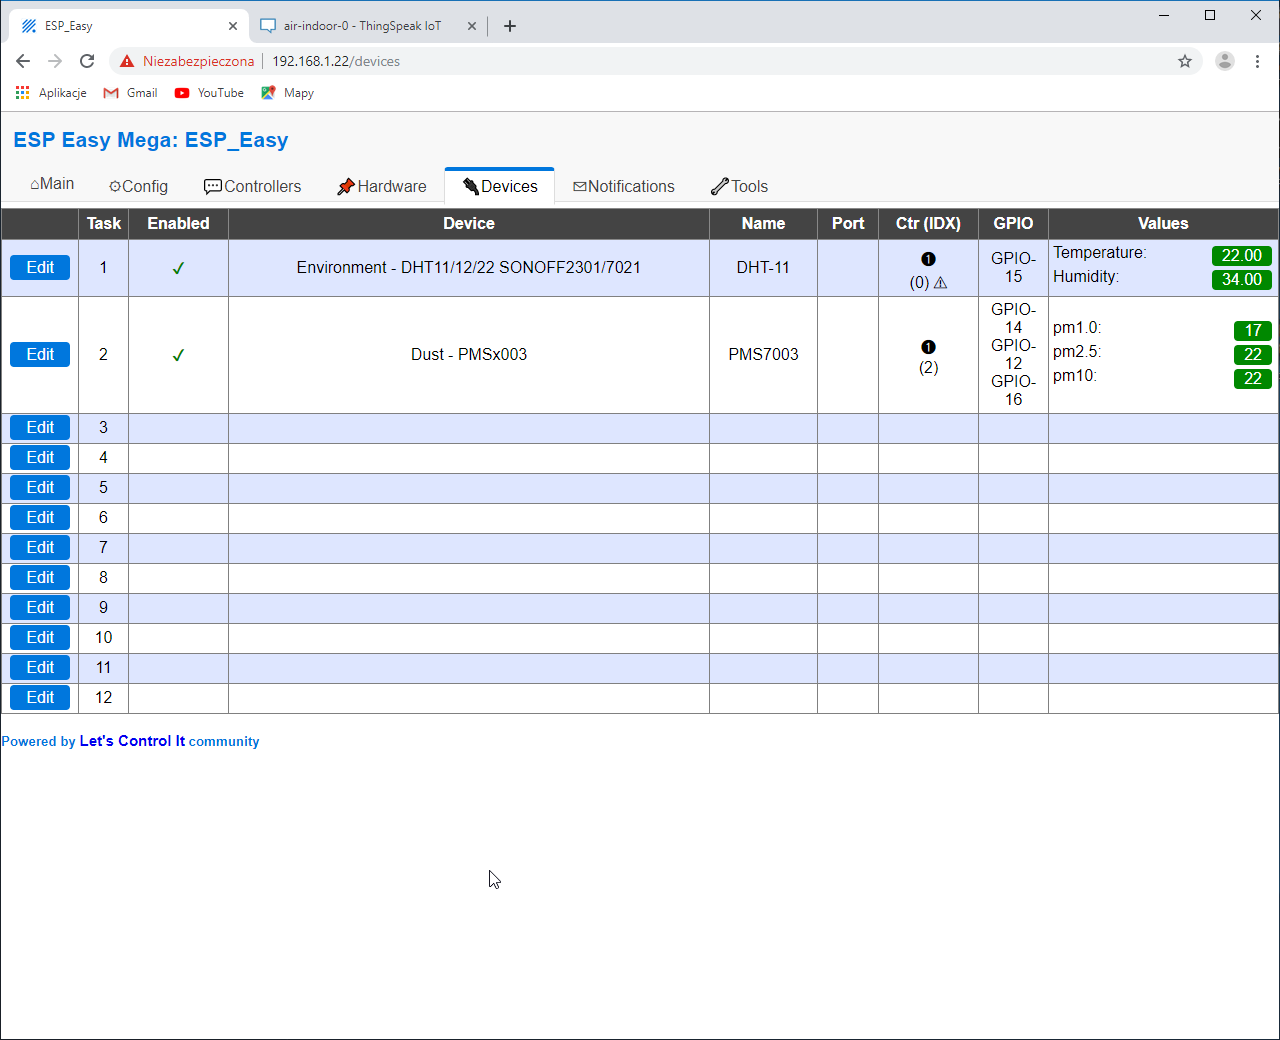
After a successful setup and connection, we will get some readings.
Configure PMS7003 sensor
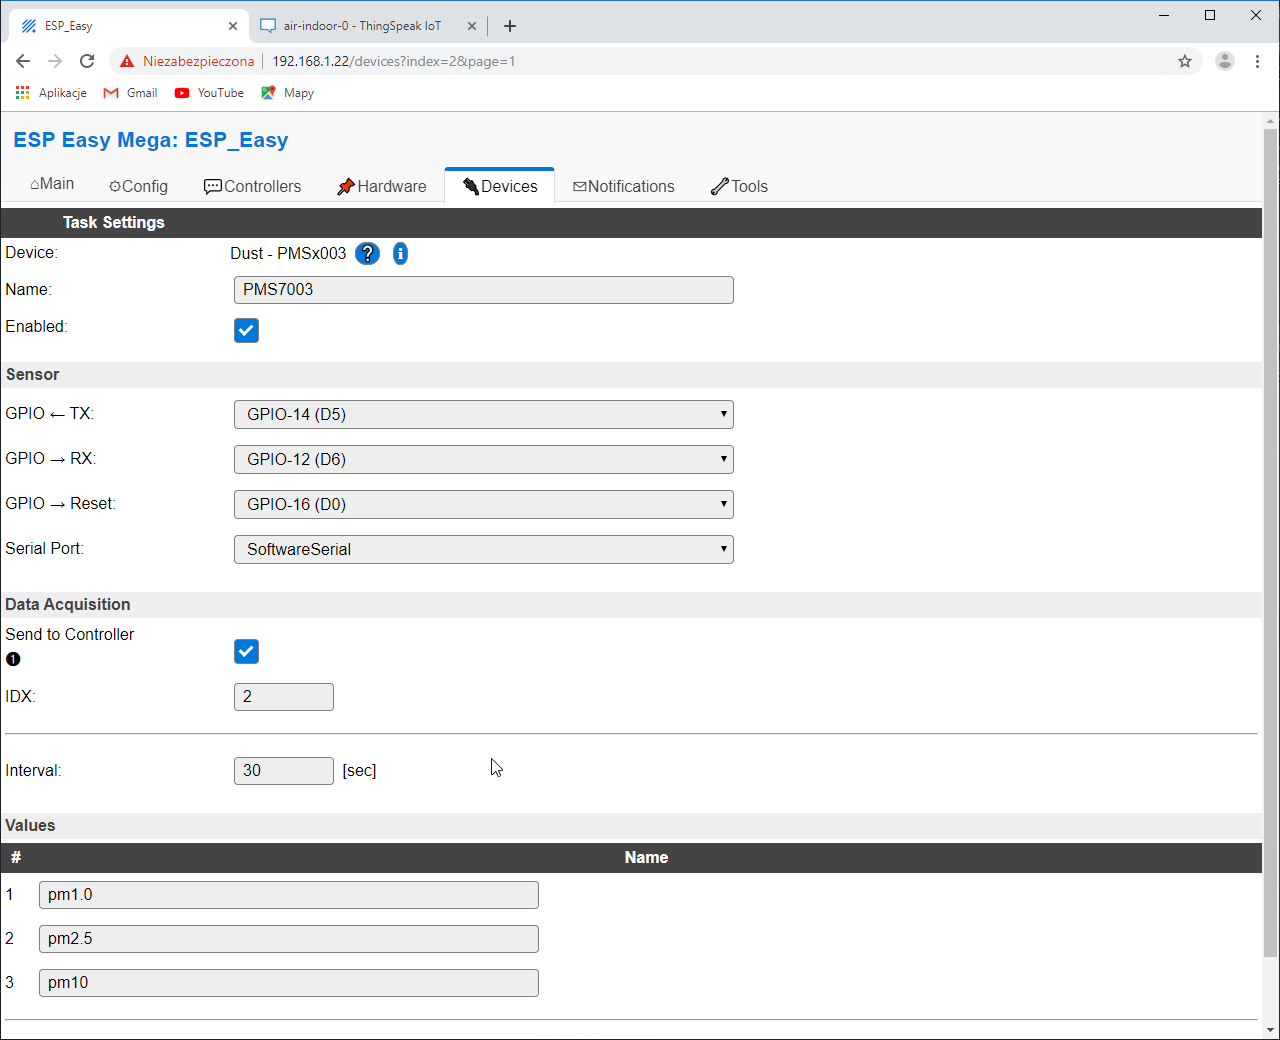
Now it would be time to connect the air quality sensor. The overall configuration looks similar, but there is a trick.
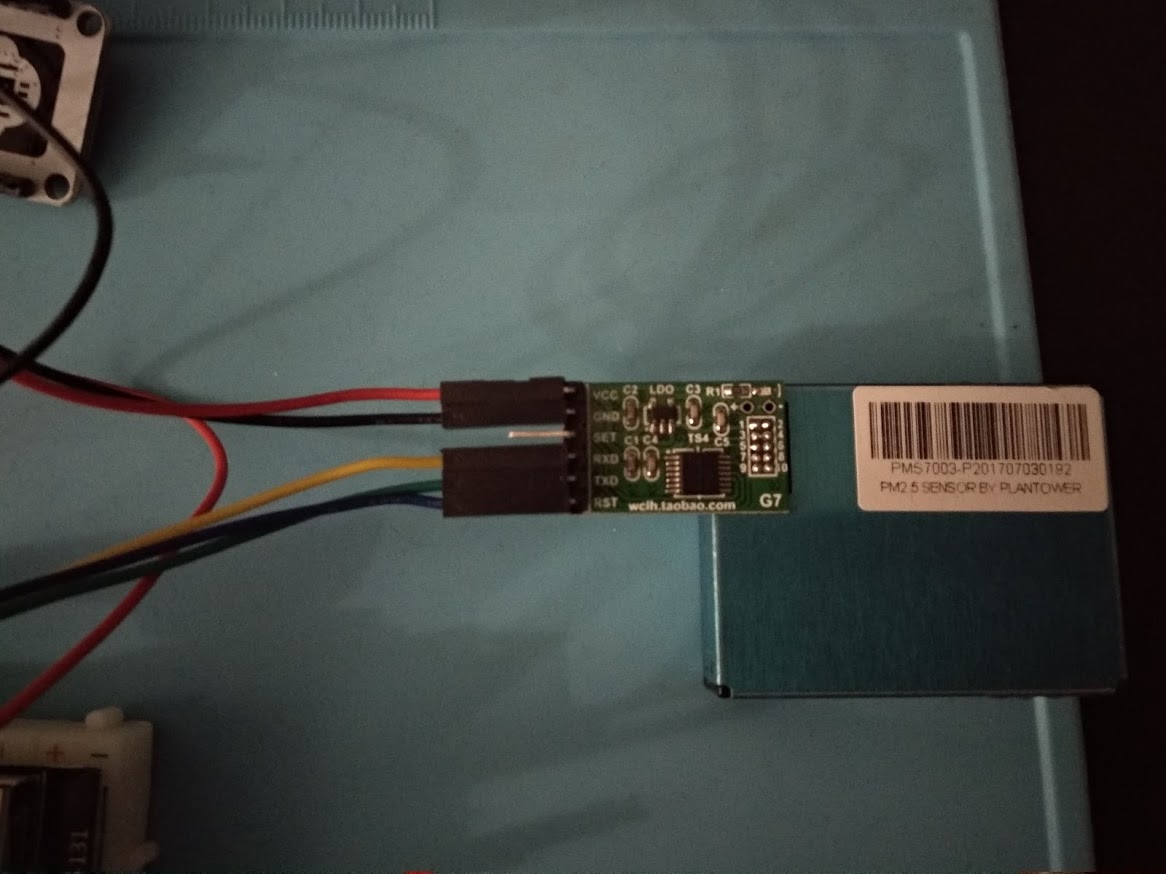
PMS7003 uses 5V as a power supply and 3.3V as a data line. NodeMCU board can provide the only 3.3V - so this needs to be solved. In my case, it was an external breadboard supply.
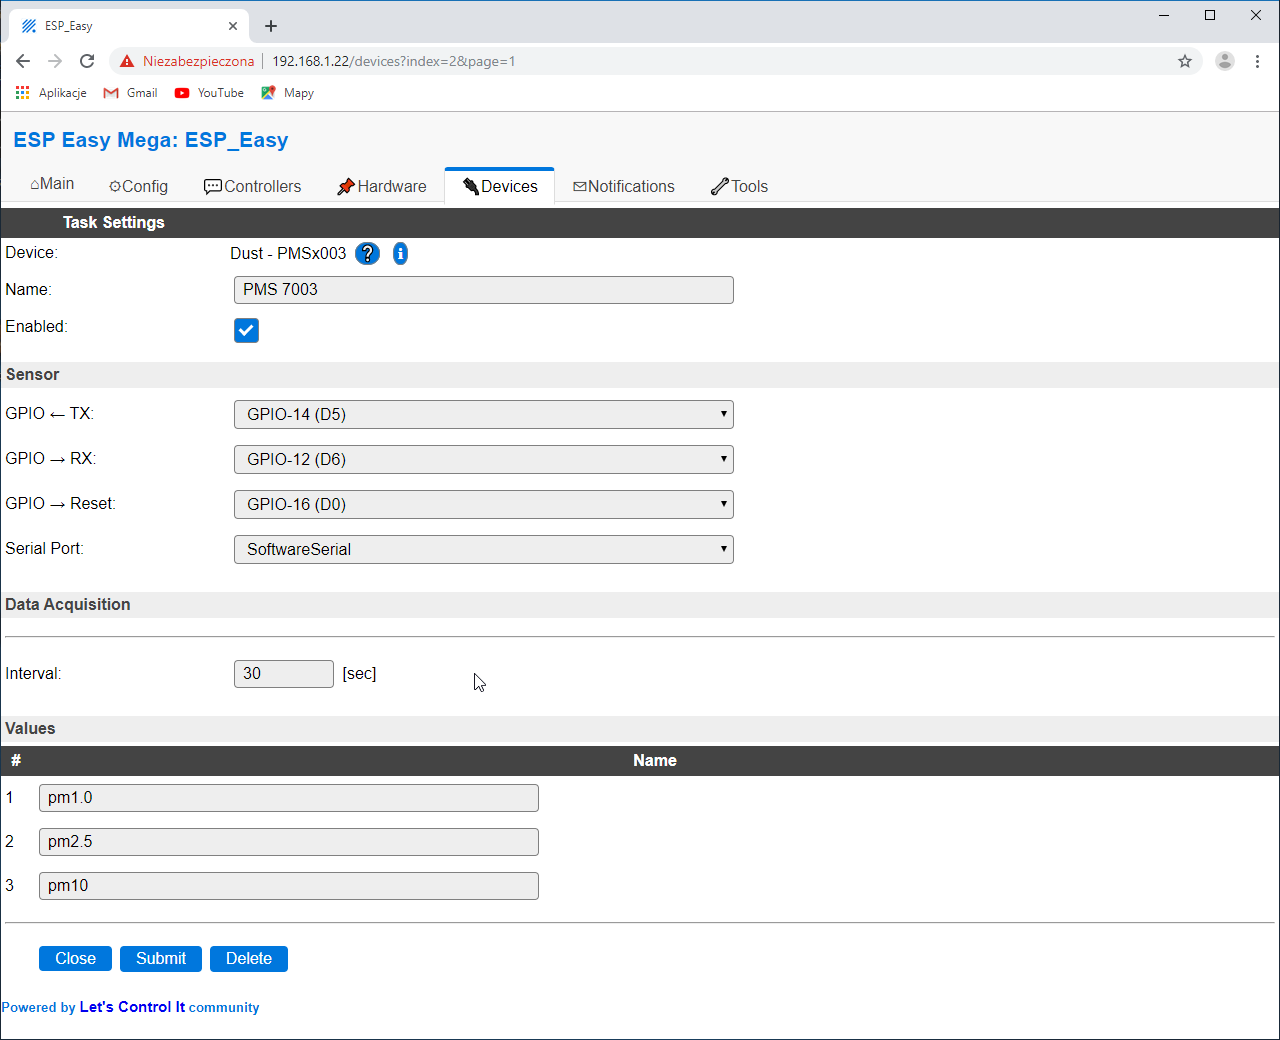
I have used software serial port with TX on D5, RX on *D6 *and RST(Reset) on D0.
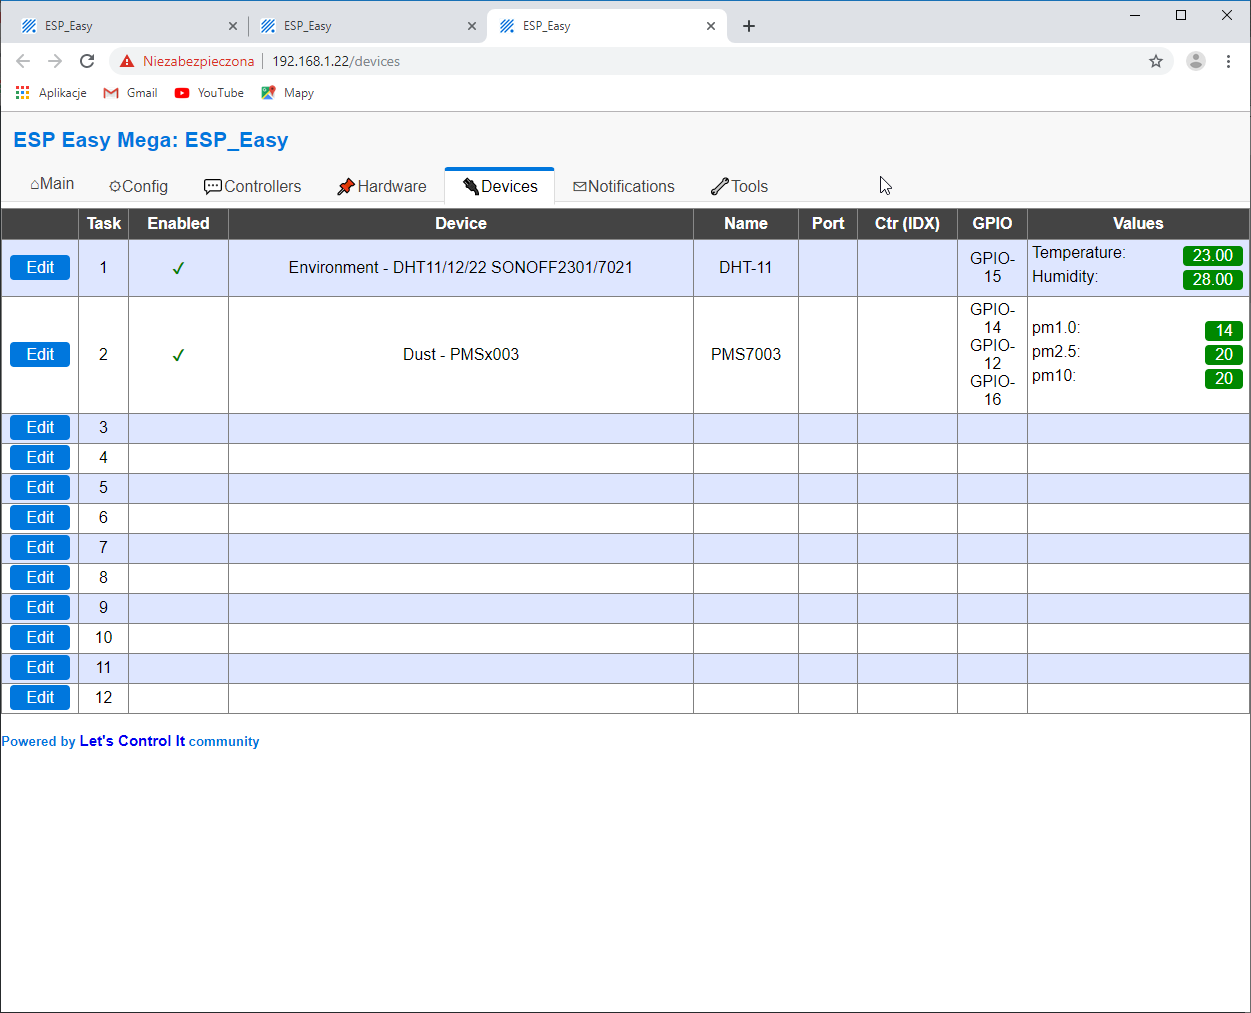
After successful configuration, restarting and re-connecting we should get readings similar to mine.
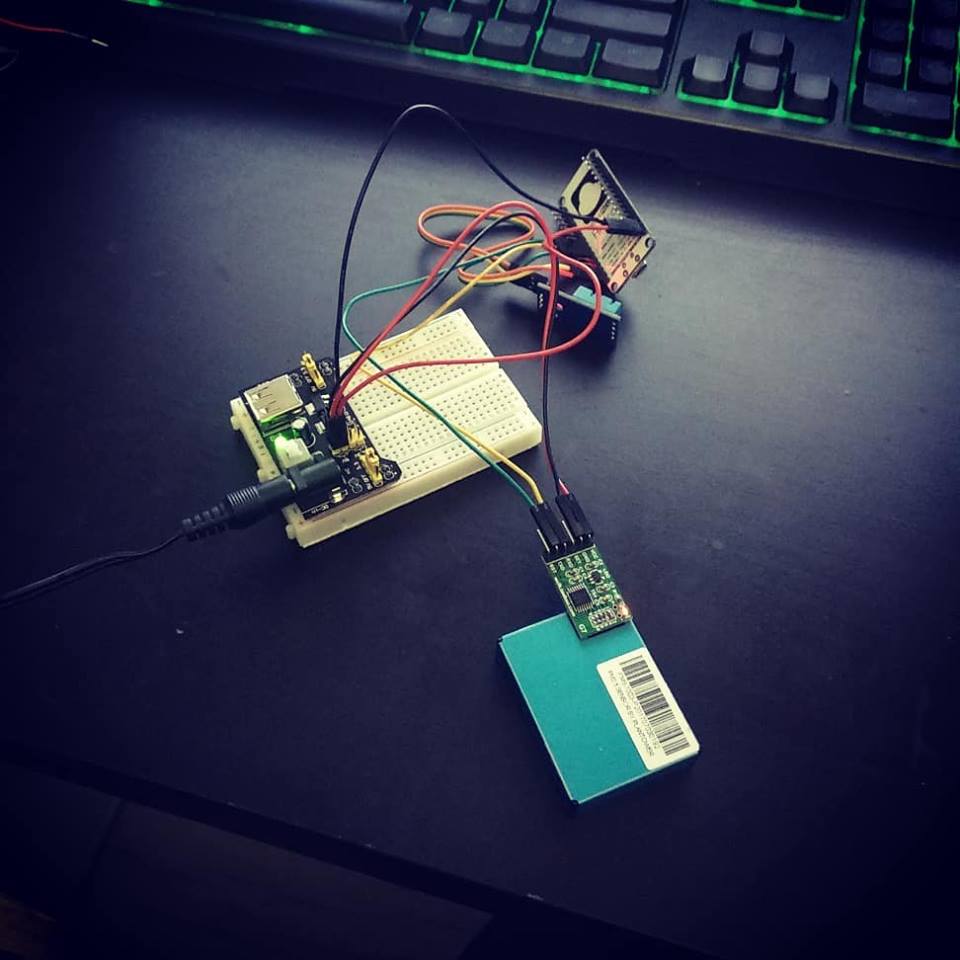
Summary of connections
 Connections example
Cloud setup
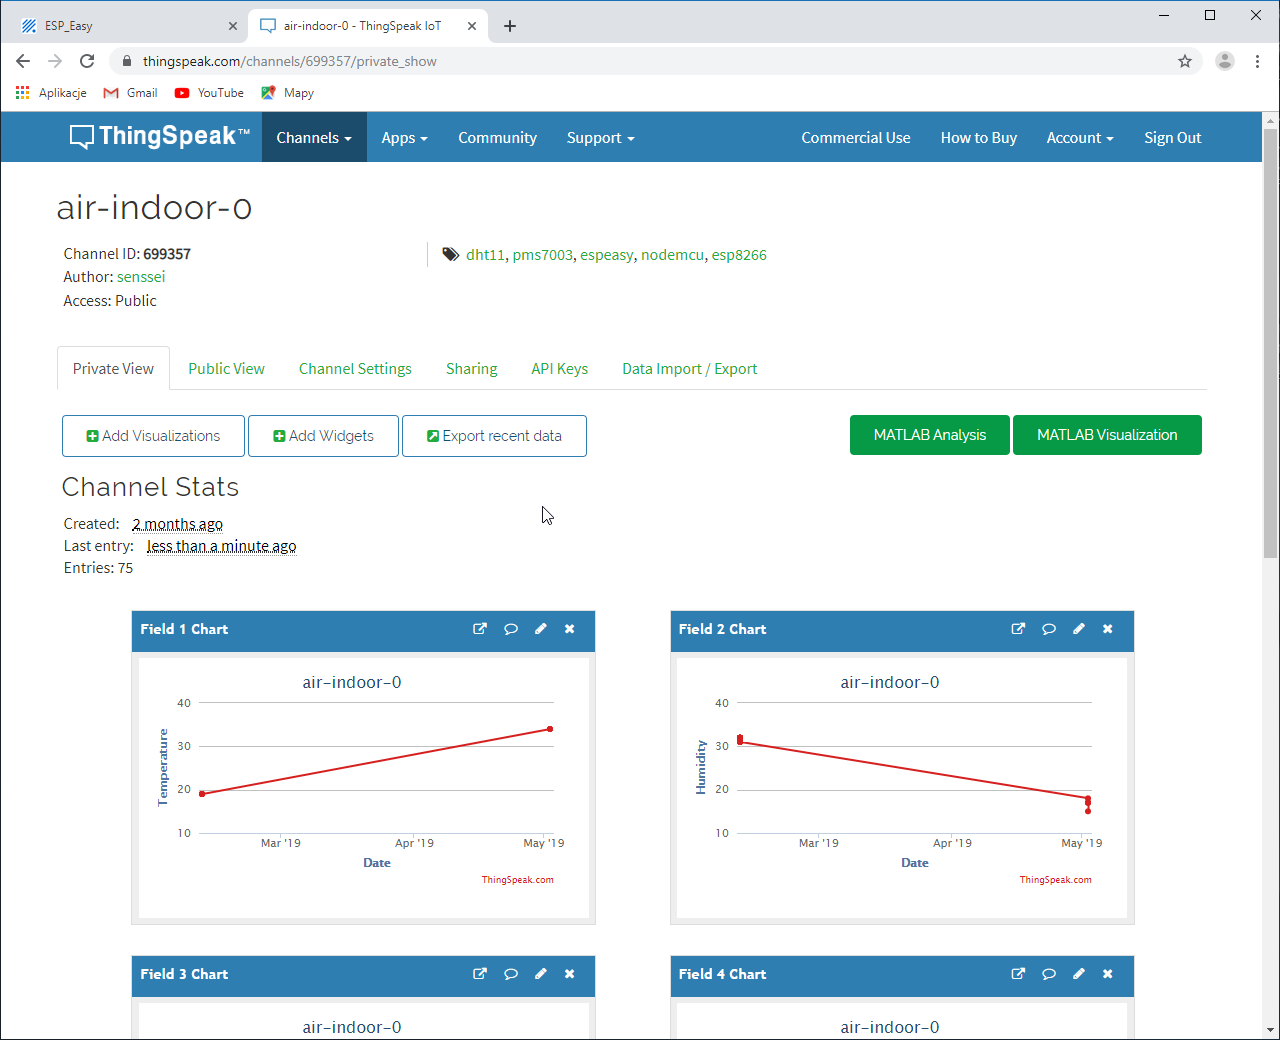
I have used thingspeak.com as a cloud platform for data visualization. After you create an account on this portal, you need to create a channel and get API keys.
The key is required to set up the controller to send data to *thingspeak *using **184.106.153.149 **and provide with API key.
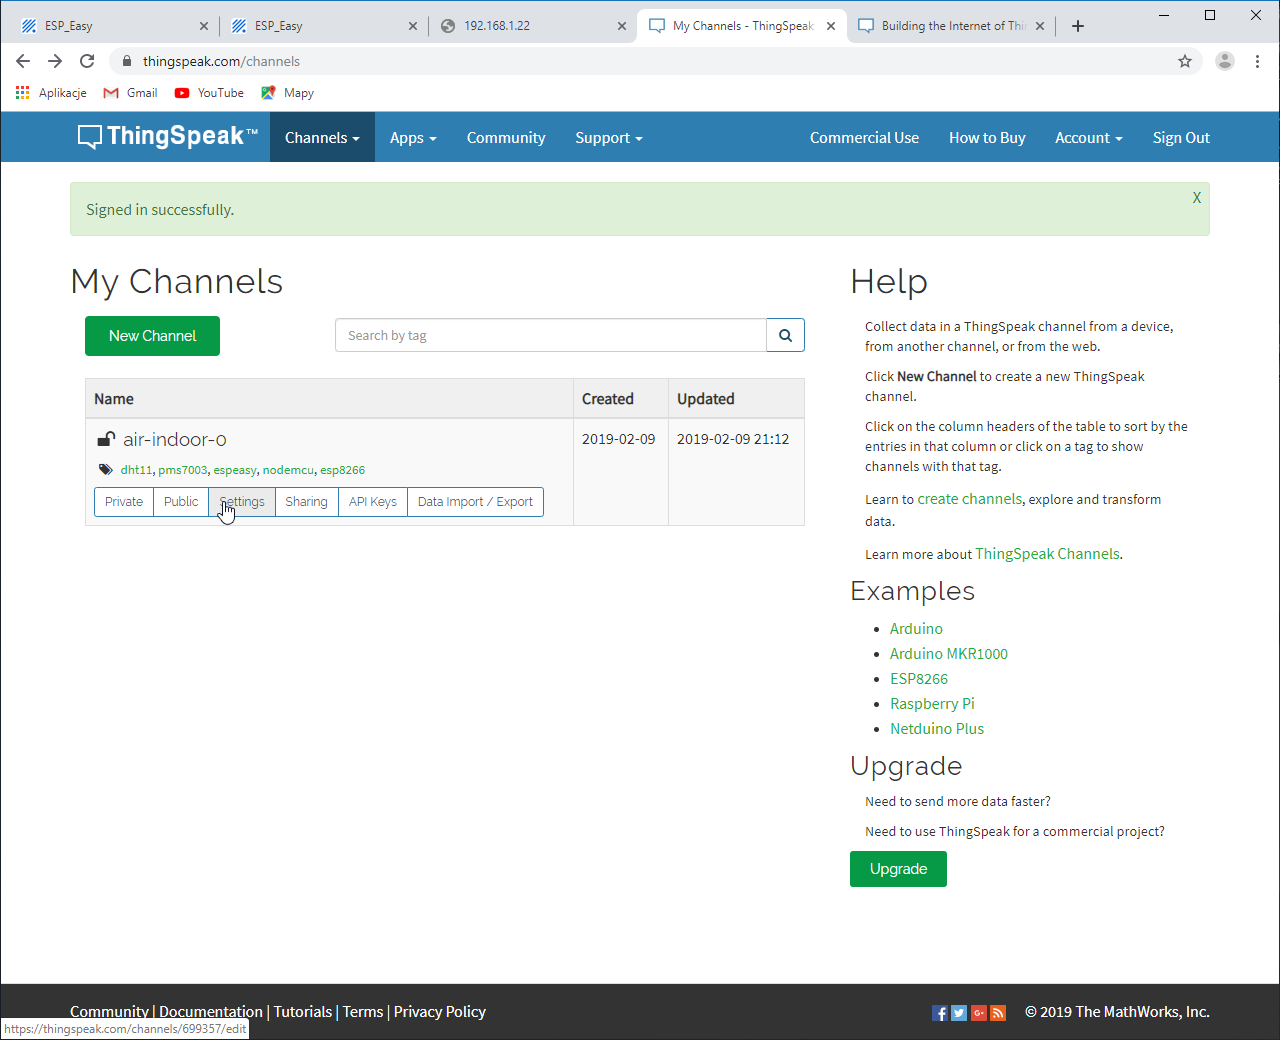
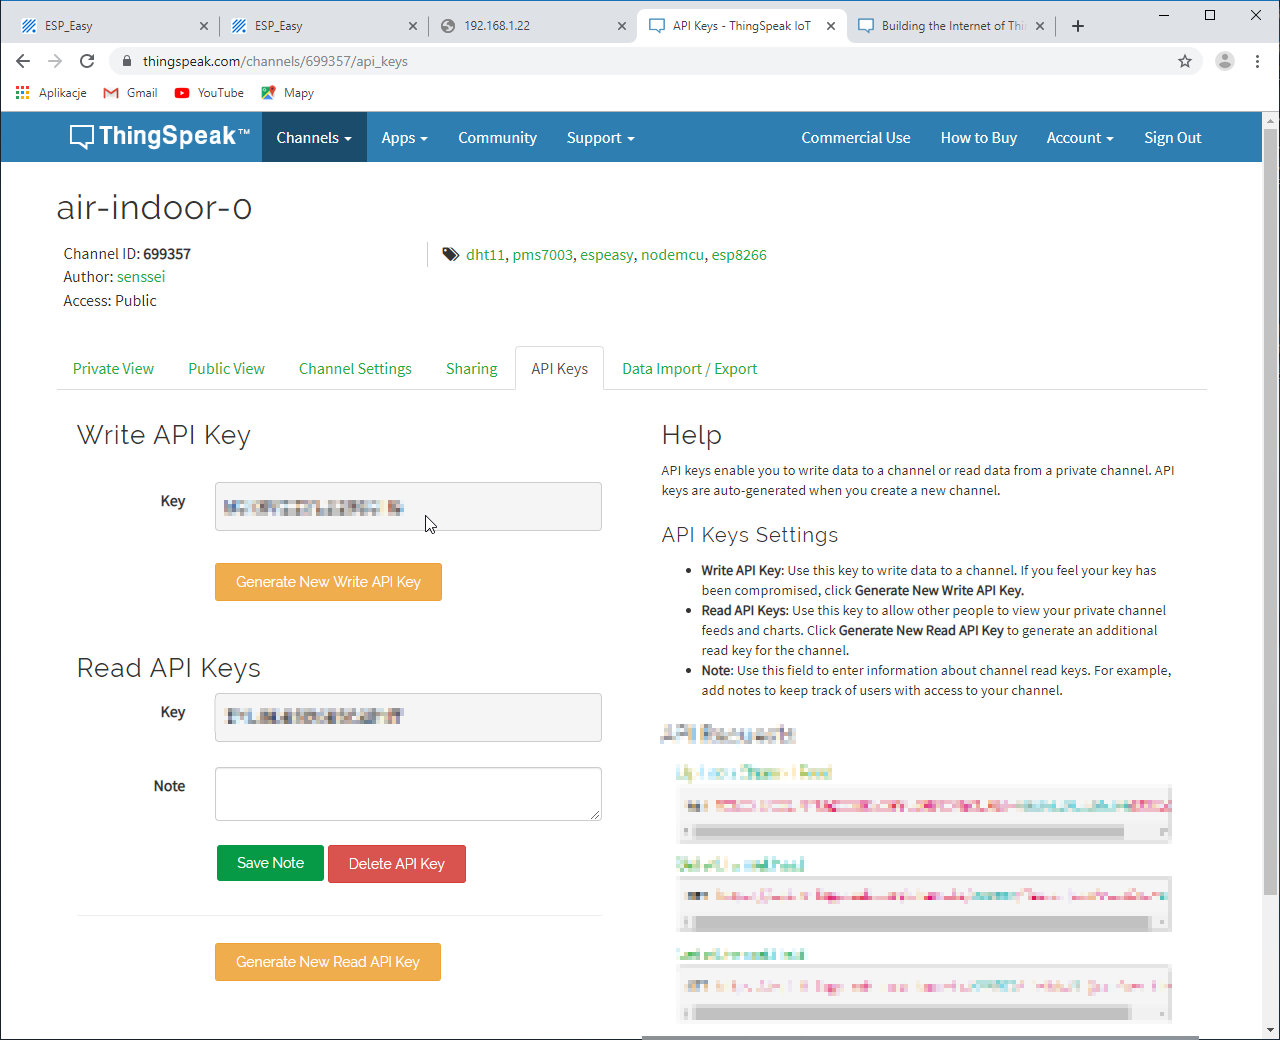
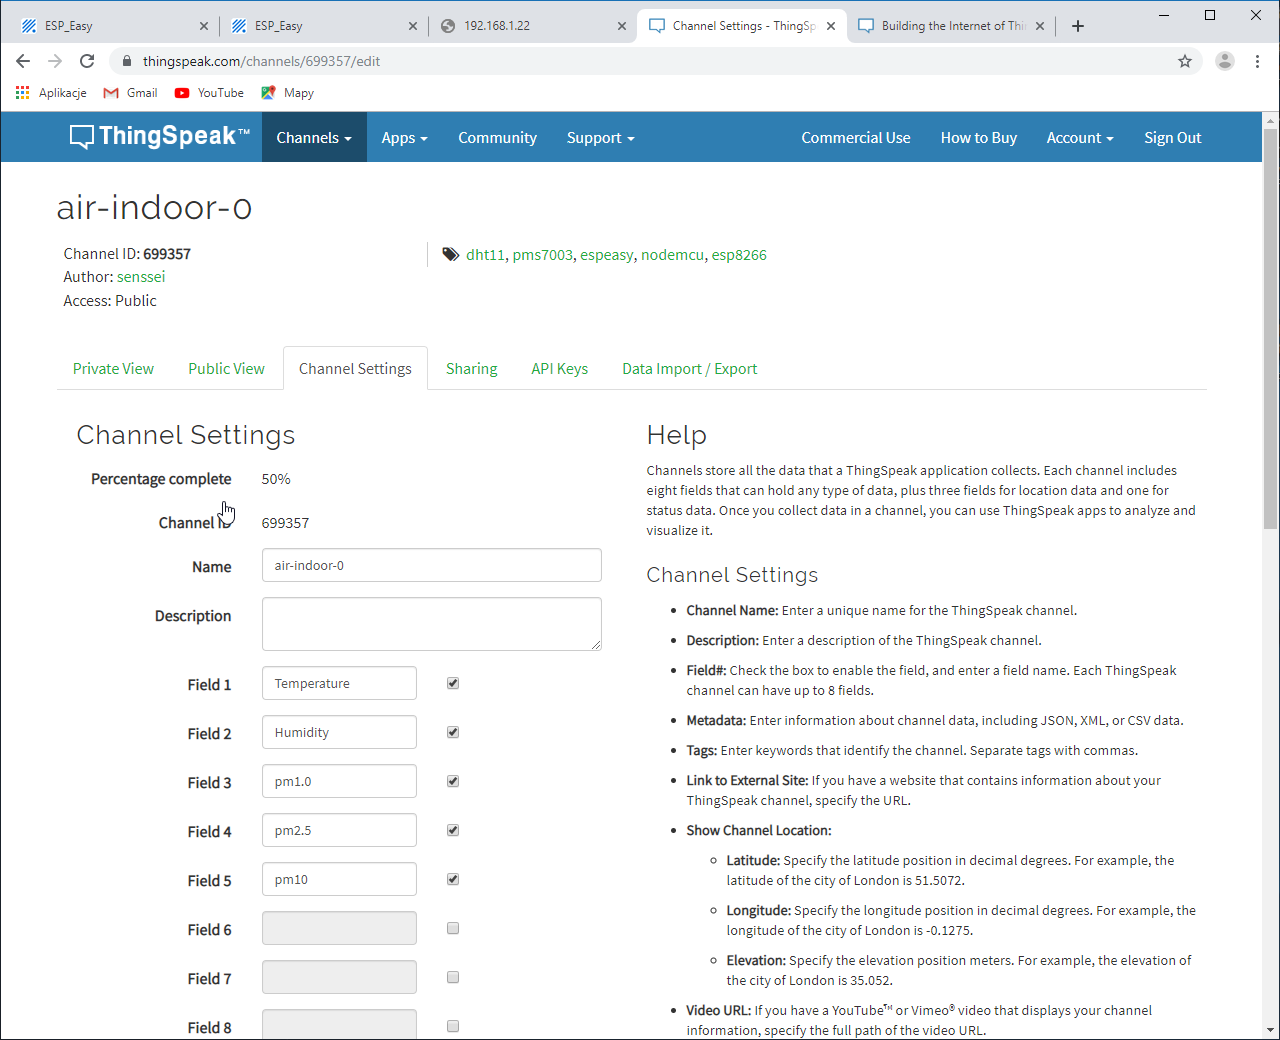
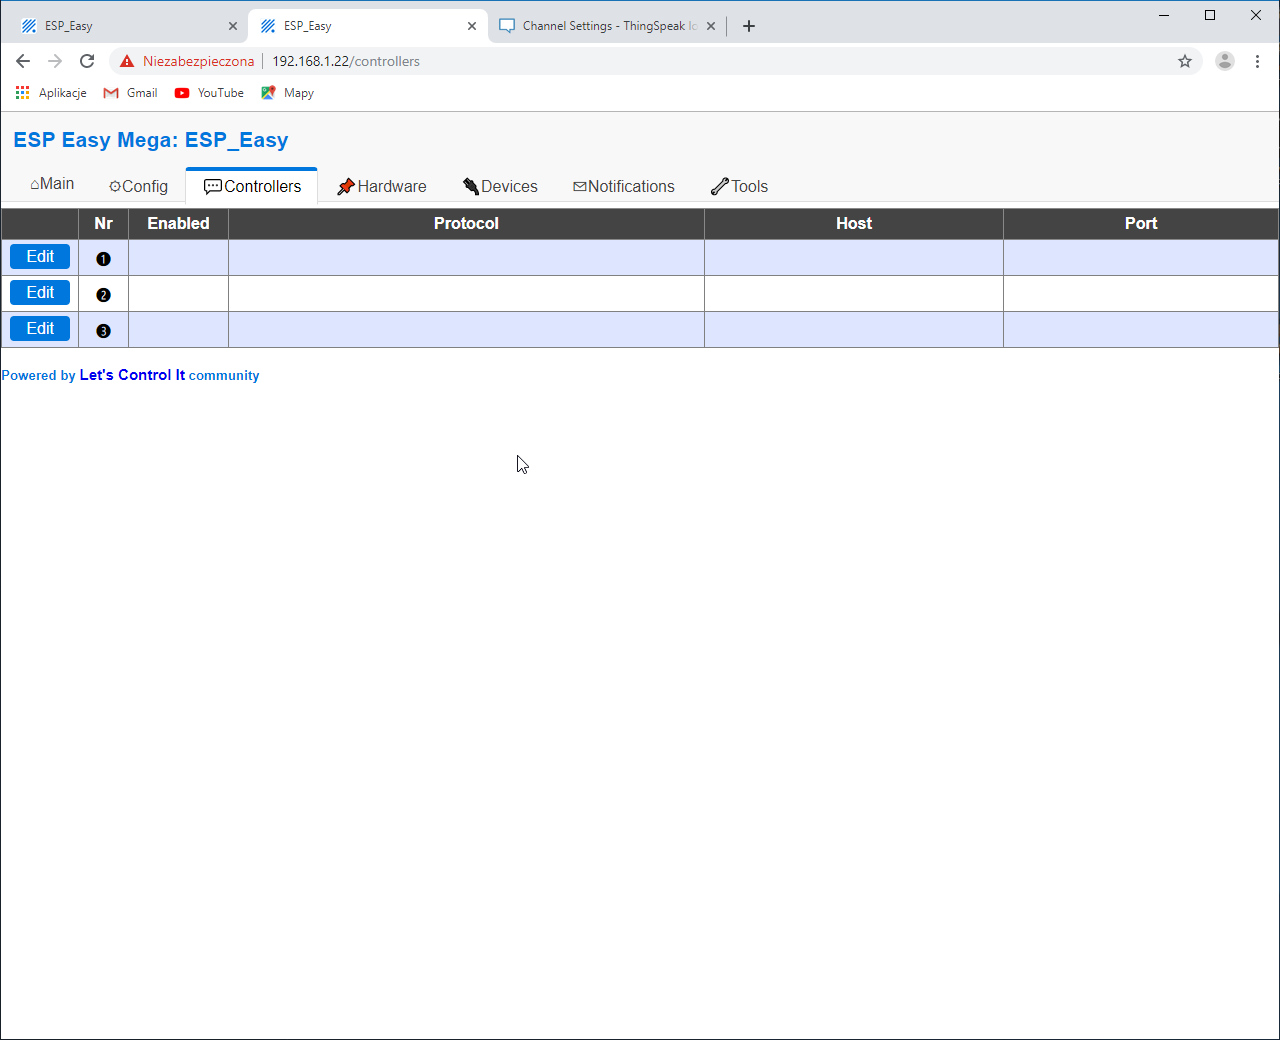
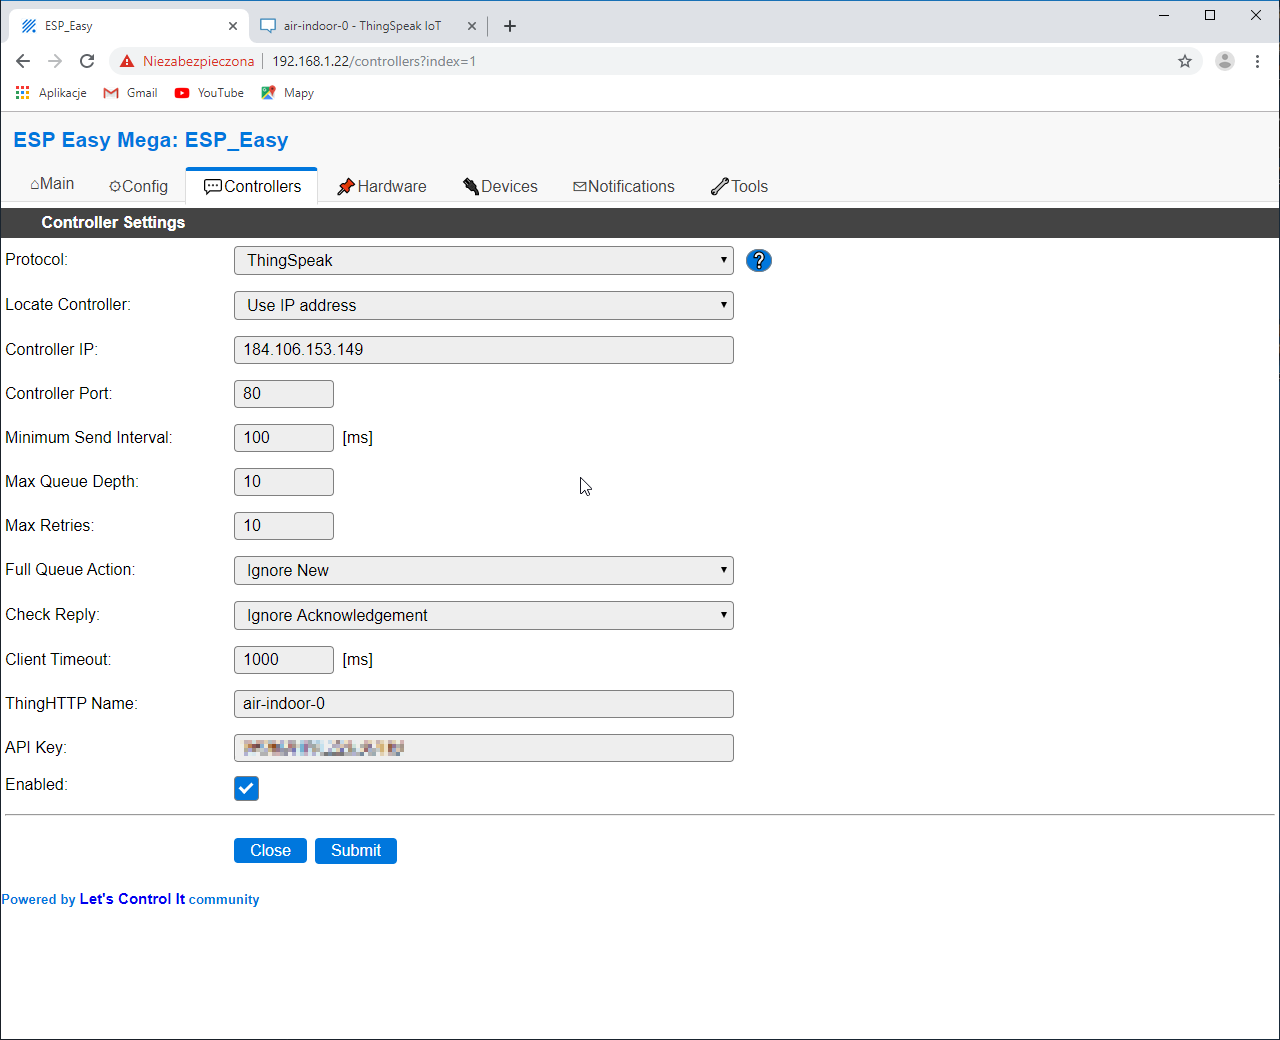
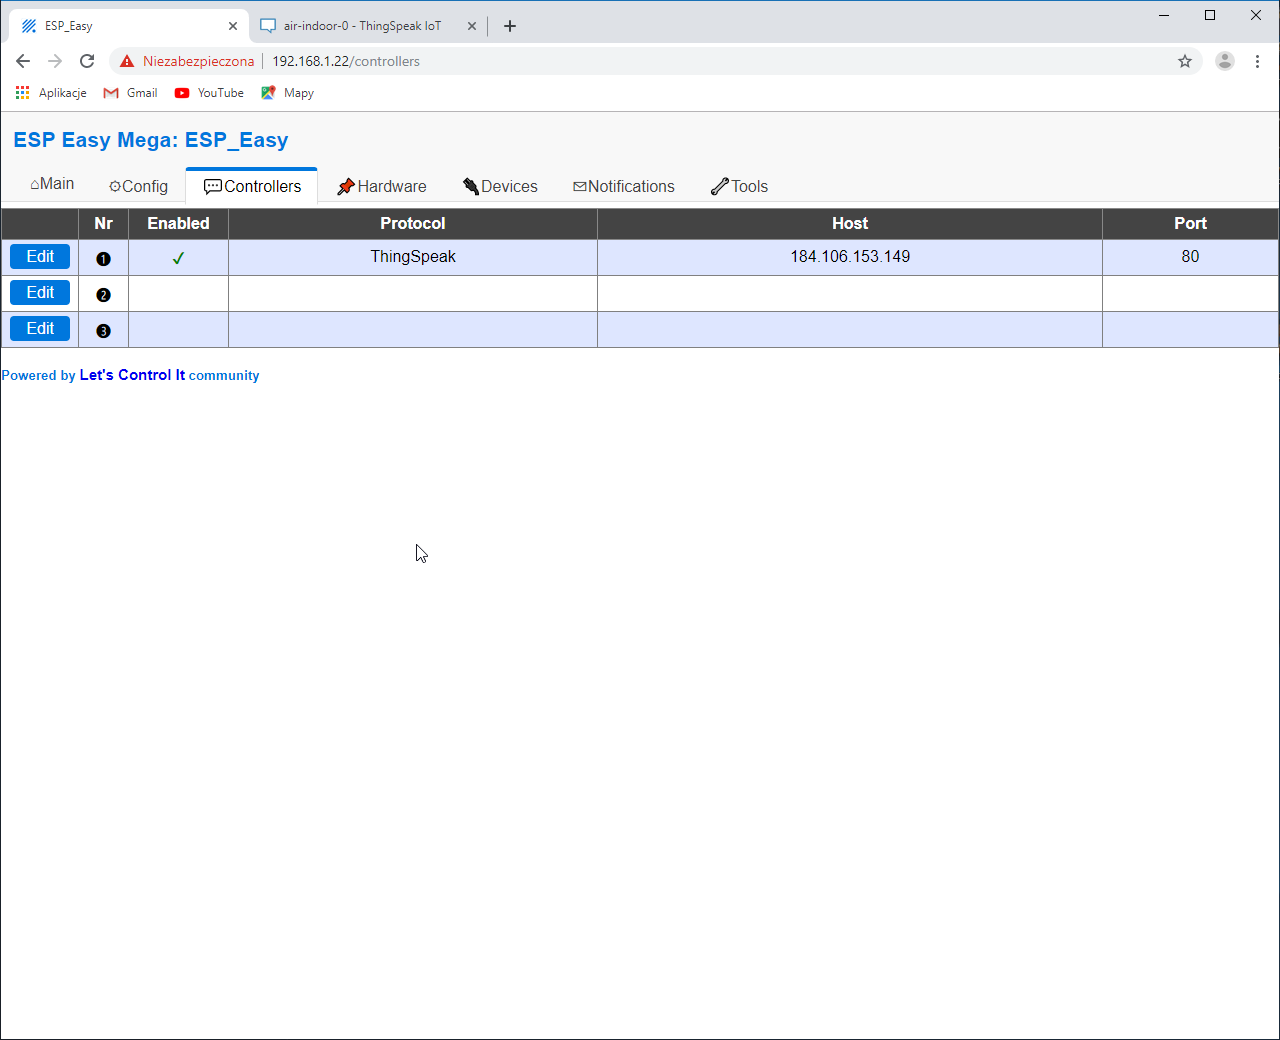
Next step would be to configure sensors to be used by this controller. Mapping is quite simplistic. We need to specify index of sensor data.
On the *thingspeak *level, I had defined as an array of 5 fields - [Temperature, Humidity, pm1.0, pm2.5, pm10] and that is why on PMS7003 we are starting PM info from 2nd the index to match *thingspeak *definition.
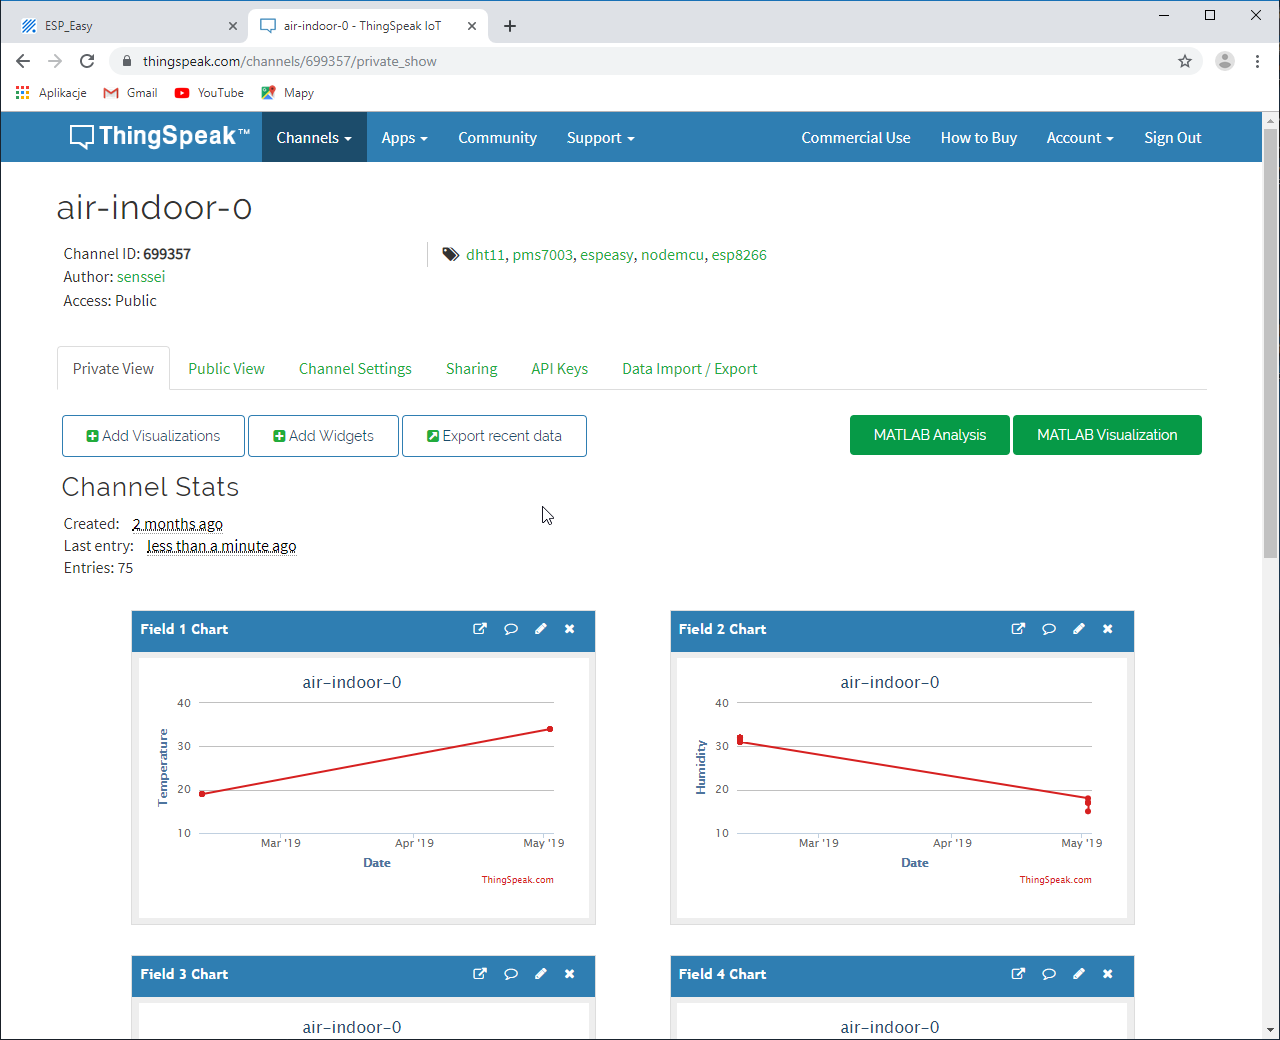
Now after some time, we can see some data.